How to Add Google Analytics to WordPress (3 Methods, Step by Step)
I put off installing Google Analytics on my first WordPress site for way too long. For months, I was publishing content and had absolutely no idea if anyone was reading it. When I finally set up analytics and saw my first real traffic data, it changed how I approached everything — from the topics I wrote about to the way I structured my pages. That single free tool gave me more clarity about my site than anything else I'd tried.
If you're running a WordPress site without analytics, you're flying blind. In this guide, I'll show you exactly how to add Google Analytics to WordPress using three different methods — from the easiest plugin approach to the manual developer route. Pick the one that matches your comfort level and you'll be tracking visitors within the next 15 minutes.

Why You Need Google Analytics on Your WordPress Site
Google Analytics is the most widely used web analytics platform on the planet, and it's completely free. Once installed, it tells you exactly who visits your site, where they come from, what pages they read, how long they stay, and what they do before leaving. Without this data, every decision you make about your site — what content to create, which pages to improve, where to focus your marketing efforts — is based on guesswork.
Here's what Google Analytics actually shows you:
- How many people visit your site — daily, weekly, monthly, with trends over time
- Where your traffic comes from — Google search, social media, direct visits, referral links, or email campaigns
- Which pages perform best — so you can double down on what works
- How long visitors stay — and whether they're actually engaging with your content
- What devices and browsers they use — so you can optimize the experience
Whether you're running a blog, an online store, or a business website, this data is essential. And the best part? Google Analytics 4 (GA4) is the current version, and it's free for everyone. Let's get it installed.
Before You Start: Create a Google Analytics Account
Before connecting Analytics to WordPress, you need a Google Analytics account and a property for your website. If you already have this set up, skip ahead to the installation method of your choice.
- Go to analytics.google.com and sign in with your Google account (the same one you use for Gmail works fine)
- Click "Start measuring" to begin the setup wizard
- Enter an Account name — this can be your business name or just "My Websites"
- Create a Property — enter your website name, select your time zone, and choose your currency
- Fill in your business details — select your industry category and business size
- Choose your business objectives — select "Get baseline reports" if you're not sure
- Select "Web" as your platform when asked how you want to collect data
- Enter your website URL and give your data stream a name (your site name works)
- Copy your Measurement ID — it starts with "G-" followed by a string of characters (e.g., G-ABC123XYZ). You'll need this for the WordPress setup
That's it for the Google side. Now let's connect it to WordPress.
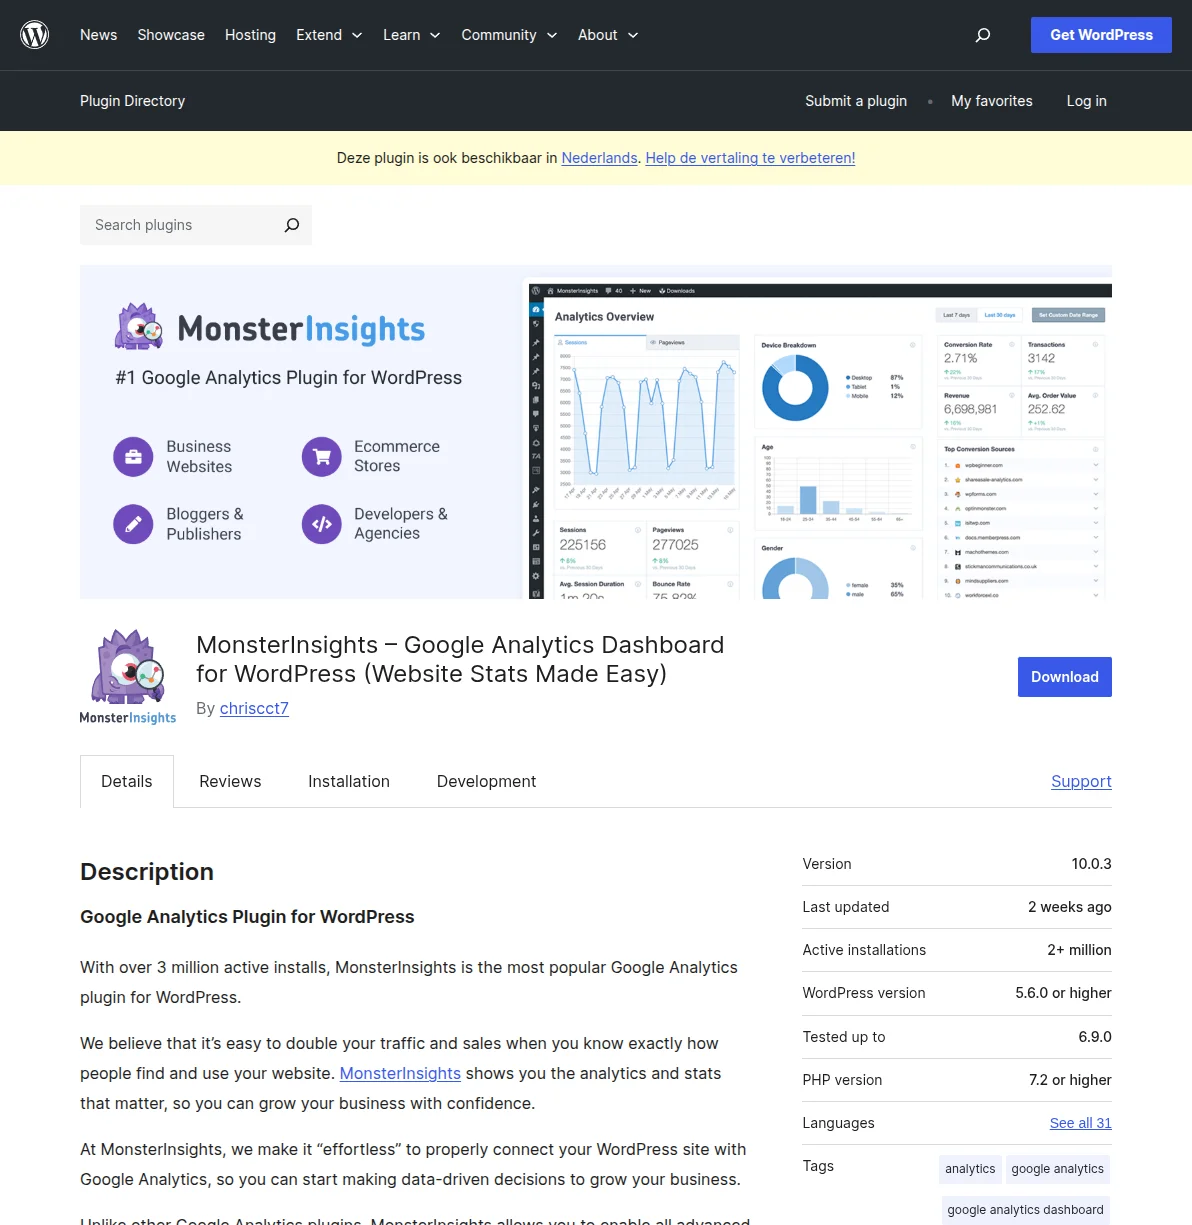
Method 1: Using MonsterInsights (Easiest for Beginners)
MonsterInsights is the most popular Google Analytics plugin for WordPress, with over 3 million active installations. I recommend this method for most people because it handles the technical setup automatically and gives you traffic reports right inside your WordPress dashboard — no need to switch between tabs or learn the Google Analytics interface.
Step 1: Install the MonsterInsights Plugin
- Log in to your WordPress dashboard
- Go to Plugins → Add New Plugin
- Search for "MonsterInsights" in the search bar
- Find "MonsterInsights – Google Analytics Dashboard for WordPress (Website Stats Made Easy)" in the results
- Click "Install Now", then click "Activate"
Step 2: Run the Setup Wizard
After activation, MonsterInsights automatically launches its setup wizard. If it doesn't, go to Insights → Settings in your WordPress sidebar.
- Choose your website category — select "Business Website," "Blog," or "Online Store"
- Click "Connect MonsterInsights" — this opens a popup asking you to sign in with your Google account
- Sign in to Google and grant MonsterInsights permission to access your Analytics data. You'll see a permissions screen — click "Allow"
- Select the correct property — choose the GA4 property you created earlier from the dropdown
- Click "Complete Connection" — MonsterInsights will verify the connection and return you to WordPress
Step 3: Configure Recommended Settings
The wizard walks you through a few more options. Here's what I recommend:
- Events Tracking — Leave enabled. This automatically tracks file downloads, outbound links, and other interactions
- Enhanced Link Attribution — Enable this. It helps Analytics distinguish between multiple links on the same page that point to the same URL
- File Download Tracking — Leave the defaults (doc, pdf, ppt, zip, xls, docx, pptx, xlsx)
Click "Save and Continue" through the remaining screens. You can skip any upsell pages for the Pro version — the free plugin handles everything most sites need.
Step 4: Verify It's Working
After completing the wizard:
- Go to Insights → Reports in your WordPress dashboard
- You might see a message saying "No data yet" — that's normal. Google Analytics needs a few hours (sometimes up to 24 hours) to start showing data
- To double-check immediately, open your site in a new browser tab, then go to your Google Analytics dashboard and click "Realtime" in the left sidebar. You should see yourself as an active user
That's it. MonsterInsights will now automatically track every visitor, and you can view your reports at Insights → Reports without leaving WordPress.
Method 2: Using Site Kit by Google (Official Google Plugin)
If you prefer using Google's own official plugin, Site Kit by Google is a solid choice. It connects not just Google Analytics but also Google Search Console, AdSense, and PageSpeed Insights — all from a single plugin. I use this on several of my sites because I like having all my Google tools in one dashboard.

Step 1: Install Site Kit
- In your WordPress dashboard, go to Plugins → Add New Plugin
- Search for "Site Kit by Google"
- Find the plugin by Google (it has 5+ million active installations)
- Click "Install Now", then "Activate"
Step 2: Connect Your Google Account
- After activation, you'll see a "Start Setup" prompt at the top of your dashboard. Click it
- Sign in with Google — use the same Google account that has your Analytics property
- Grant permissions — Site Kit asks for access to your Google services. Click "Allow" on each permission screen
- Verify site ownership — Site Kit automatically verifies your site with Google Search Console. This happens in the background
Step 3: Connect Google Analytics
- Once signed in, Site Kit shows your dashboard with connected services
- Find the "Analytics" section and click "Connect Service"
- Select your GA4 property from the dropdown (or let Site Kit create one if you haven't yet)
- Click "Configure Analytics"
Step 4: Check Your Dashboard
After connecting, go to Site Kit → Dashboard in your WordPress sidebar. You'll see an overview panel that combines data from all connected Google services. Analytics data typically starts appearing within 24-48 hours.
The main advantage of Site Kit is the unified dashboard. Instead of checking three different Google tools, you see everything — search performance, page speed scores, and visitor analytics — in a single view inside WordPress.
Method 3: Manual Code Installation (For Developers)
If you prefer not to install a plugin — maybe you're optimizing for performance, or you just like keeping your plugin count low — you can add the Google Analytics tracking code directly to your WordPress theme. This method requires you to be comfortable editing code, but it's straightforward.
Step 1: Get Your GA4 Tracking Code
- Go to analytics.google.com
- Click the gear icon (Admin) in the bottom-left corner
- Under your property, click "Data Streams"
- Click on your web data stream
- Under "Google tag", click "View tag instructions"
- Select "Install manually"
- Copy the entire code snippet — it looks something like this:
<!-- Google tag (gtag.js) -->
<script async src="https://www.googletagmanager.com/gtag/js?id=G-XXXXXXXXXX"></script>
<script>
  window.dataLayer = window.dataLayer || [];
  function gtag(){dataLayer.push(arguments);}
  gtag('js', new Date());
  gtag('config', 'G-XXXXXXXXXX');
</script>
Replace G-XXXXXXXXXX with your actual Measurement ID.
Step 2: Add the Code to Your Theme
The recommended approach is using your theme's functions.php file with a proper WordPress hook:
- Go to Appearance → Theme File Editor in your WordPress dashboard
- Select functions.php from the file list on the right
- Add this code at the bottom of the file (replace the Measurement ID with yours):
function add_google_analytics() { ?>
<!-- Google tag (gtag.js) -->
<script async src="https://www.googletagmanager.com/gtag/js?id=G-XXXXXXXXXX"></script>
<script>
  window.dataLayer = window.dataLayer || [];
  function gtag(){dataLayer.push(arguments);}
  gtag('js', new Date());
  gtag('config', 'G-XXXXXXXXXX');
</script>
<?php }
add_action('wp_head', 'add_google_analytics');- Click "Update File" to save
Important: If you're using a child theme (and you should be — read my guide on choosing the right WordPress theme), add this code to your child theme's functions.php instead. Otherwise, a theme update will overwrite your changes and you'll lose tracking.
An alternative approach: many modern themes like Astra, GeneratePress, and Kadence have a built-in "Header Scripts" section in their customizer settings. Check Appearance → Customize for a "Custom Code" or "Header/Footer Scripts" option. If your theme has this, paste the GA4 code snippet there instead — it's simpler and update-safe.
What to Track First: 5 Key Metrics for Beginners
Once Google Analytics is running, the amount of data can feel overwhelming. I've been there. Don't try to learn everything at once. Instead, focus on these five metrics that will give you the most actionable insights right away.
1. Users and Sessions
This is your baseline traffic number. Go to Reports → Acquisition → Overview in Google Analytics. Users tells you how many individual people visited your site. Sessions counts total visits (one user can have multiple sessions). Track this weekly to see if your traffic is growing. Don't obsess over daily fluctuations — look at the trend over weeks and months.
2. Traffic Sources
Navigate to Reports → Acquisition → Traffic Acquisition. This shows you where your visitors come from. The main channels are:
- Organic Search — people finding you via Google (this is what your SEO efforts drive)
- Direct — people typing your URL directly or using bookmarks
- Referral — clicks from other websites linking to you
- Social — traffic from social media platforms
If you're investing time in SEO, you want to see Organic Search growing over time. If it's flat while Direct is high, your SEO strategy might need work.
3. Top Pages
Go to Reports → Engagement → Pages and Screens. This shows which pages get the most traffic. This is gold for content strategy — it tells you what topics your audience cares about so you can create more content in those areas. It also reveals underperforming pages that might need updating or better on-page SEO.
4. Engagement Rate
In GA4, engagement rate replaced the old bounce rate. It measures the percentage of sessions where a user spent at least 10 seconds on your site, triggered a conversion event, or viewed 2+ pages. A healthy engagement rate for a content site is typically 55-75%. If yours is below 40%, your content might not be matching what visitors expect when they click through from search results.
5. Average Engagement Time
Found in the same Pages and Screens report, this tells you how long people actually spend reading each page. If you're writing 2,000-word articles and the average engagement time is 15 seconds, people aren't reading — they're bouncing. For a well-performing blog post, aim for 2-4 minutes of average engagement time.
Frequently Asked Questions
Is Google Analytics free?
Yes, Google Analytics 4 is completely free for all websites. There's also a paid version called Analytics 360 for enterprise companies, but the free version has everything a WordPress site needs — including real-time reporting, audience insights, conversion tracking, and integration with Google Ads and Search Console.
How long does it take for Google Analytics to start showing data?
Real-time data shows up immediately — you can visit your own site and see yourself in the Realtime report within seconds. However, standard reports take 24-48 hours to start populating. Don't panic if your dashboard looks empty right after setup. Give it a full day before troubleshooting.
Should I use a plugin or add the code manually?
For most WordPress users, I recommend a plugin like MonsterInsights or Site Kit. They're easier to set up, provide in-dashboard reporting, and won't break when you update your theme. Manual code is fine if you're a developer who wants to minimize plugins, but it requires maintaining the code yourself and visiting the GA4 interface separately to view reports.
Will Google Analytics slow down my website?
The Google Analytics tracking script adds roughly 28KB to your page load — barely noticeable on modern connections. In my testing across multiple sites, the impact on Core Web Vitals is minimal (typically 0-50ms on Largest Contentful Paint). The insights you gain far outweigh this tiny performance cost. If speed is a major concern, consider loading the script with a delay or using a plugin that optimizes script loading.
Can I use Google Analytics with an SEO plugin like Rank Math or Yoast?
Absolutely. Google Analytics and SEO plugins serve different purposes and work perfectly together. Analytics tracks your visitor behavior and traffic sources, while SEO plugins help you optimize your content for search engines. In fact, using both together is the standard setup for any serious WordPress site — the SEO plugin helps you rank, and Analytics shows you whether it's working.
What's Next?
Now that Google Analytics is tracking your visitors, here are the logical next steps:
- WordPress SEO Guide — Learn how to optimize your site for Google so you actually have traffic worth tracking
- Best SEO Plugins — Compare Rank Math, Yoast, and AIOSEO to find the right SEO plugin for your site
- Install WordPress — Just getting started? Here's my step-by-step guide to setting up WordPress from scratch
The biggest mistake I see beginners make with Analytics isn't the setup — it's ignoring the data after installation. Set a weekly reminder to spend 10 minutes looking at your reports. Over time, the patterns will start telling a story, and that story will guide every smart decision you make about your site.

Written by Marvin
Our team tests and reviews WordPress products to help beginners make confident choices.
Learn more about our team →You might also like
Learn WordPress SEO — Your Complete Guide to Ranking on Google
A structured learning path to master WordPress SEO. From choosing the right plugin to writing content that ranks, follow these 6 steps to get your WordPress site on Google's first page.
postHow to Optimize WordPress for AI Search: GEO Guide for 2026
Learn how to optimize WordPress for AI search with GEO (Generative Engine Optimization). Real schema.org code, llms.txt setup, and tactics that get your site cited by ChatGPT and Perplexity.
postBest WordPress AI Internal Link Plugins in 2026 — 5 Smart Options Compared
I checked the current WordPress AI internal linking landscape and narrowed it to 5 realistic options: Link Whisper, Rank Math, LinkBoss, AI Internal Links, and Squirrly SEO.
postBest WordPress AI Content Optimization Plugins in 2026 — 5 Tools Compared
I checked the current WordPress AI content optimization landscape and narrowed it to 5 tools that actually make sense: SEO Engine, AI Engine, Rank Math, Squirrly SEO, and GetGenie.