How to Install WordPress — Step-by-Step for Beginners
Installing WordPress sounds technical, but I promise it's not. I've helped dozens of complete beginners get their first WordPress site live, and the entire process — from signing up for hosting to logging into your new WordPress admin — takes about 15 minutes.
I've been building websites for over 20 years. In that time, the WordPress installation process has gotten much, much simpler. Most hosting providers now offer one-click installation that handles almost everything for you. In this guide I'll walk through both the easy way (one-click) and the manual method, so you understand what's happening either way.
What You Need Before Installing WordPress
Before you can install WordPress, you need two things:
- A domain name — This is your website's address (example: mywebsite.com). Domain names cost around $10-15 per year. Most hosting providers let you register a domain during the signup process.
- Web hosting — This is the server where your WordPress files and database will live. Hosting costs roughly $3-10 per month depending on the provider and plan.
If you haven't chosen a hosting provider yet, read my WordPress hosting guide first. I compare the main options for beginners and give clear recommendations based on budget and use case. Once you have hosting and a domain, come back here and follow the steps below.
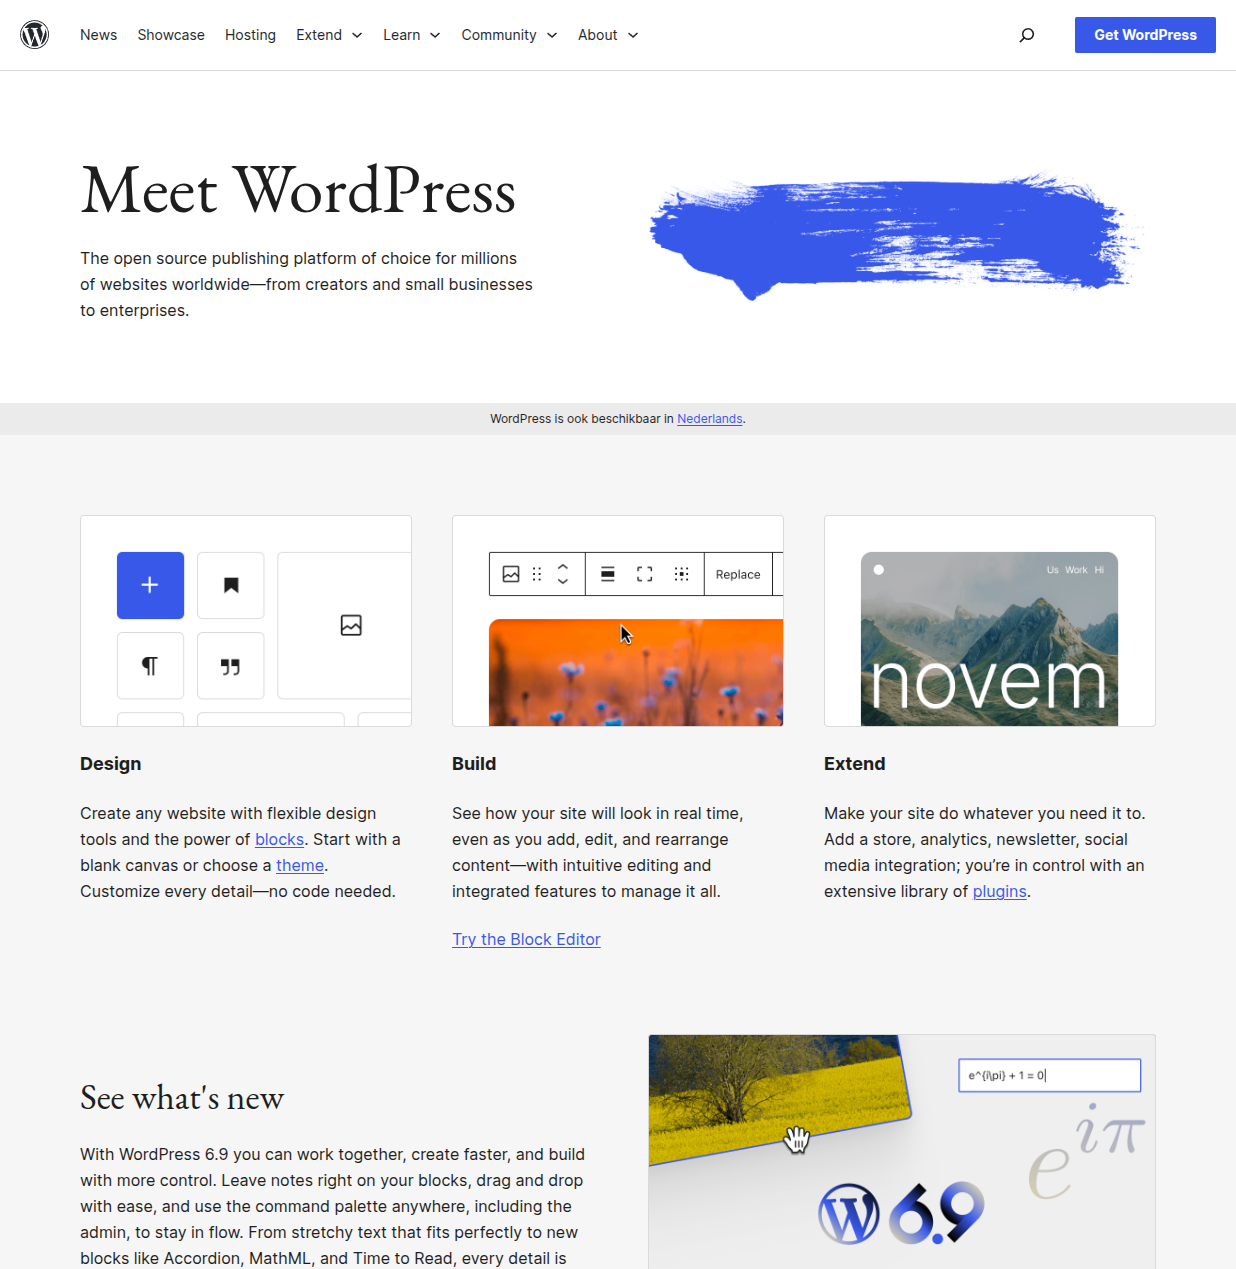
Not sure what WordPress actually is before diving into installation? Check out What Is WordPress? for the quick overview.
Method 1: One-Click Install (Recommended for Beginners)
The vast majority of hosting providers — including SiteGround, Bluehost, Hostinger, and most others — offer a one-click WordPress installer. This is by far the easiest method and the one I recommend for anyone who isn't specifically trying to learn the technical details.
Step 1: Log into your hosting control panel
After signing up for hosting, you'll receive login credentials for your hosting control panel. This is usually either cPanel (the traditional interface used by most shared hosts) or a custom dashboard specific to your host.
Step 2: Find the WordPress installer
Look for a section called "WordPress," "WordPress Installer," "Softaculous," or "Website Builder." The exact name varies by host, but it's usually prominently featured. Many hosts place it on the main dashboard because WordPress installation is so common.
Step 3: Run the installer
Click the installer and you'll be asked to fill in a few details:
- Domain — Select the domain where you want to install WordPress (you may have multiple domains on one hosting account)
- Directory — Leave this blank to install WordPress at your root domain (yoursite.com). Only fill this in if you want WordPress in a subdirectory like yoursite.com/blog
- Site title — Your website's name. You can change this later.
- Admin username — Choose something other than "admin" (it's a common attack target)
- Admin password — Use a strong, unique password. Store it in a password manager.
- Admin email — Use a real email address you check — WordPress sends password resets and important notifications here
Step 4: Click install and wait
The installer will set up your database, copy the WordPress files, and configure everything. This usually takes 30-60 seconds. When it's done, you'll see a confirmation screen with links to your new website and your admin login page.
That's it. WordPress is installed. Skip down to the "Your First WordPress Login" section.
Method 2: Manual Installation
If your host doesn't offer a one-click installer (rare these days), or if you want to understand what's happening under the hood, here's the manual process. This is also useful if you're setting up a local development environment.
What you need for manual installation
- Access to your hosting account's file manager or an FTP client
- Access to your hosting account's database tools (usually phpMyAdmin)
- The WordPress software downloaded from WordPress.org
Go to WordPress.org and click "Get WordPress" to download the latest version. You'll get a zip file containing all the WordPress files.
The manual installation steps
- Create a database — In your hosting control panel, find the MySQL Databases section. Create a new database, create a database user, assign the user to the database with "All Privileges," and note down the database name, username, and password.
- Upload the WordPress files — Unzip the WordPress download. Using your host's file manager or an FTP client, upload all the files inside the "wordpress" folder to your domain's public directory (usually called public_html or www).
- Run the WordPress setup wizard — Visit your domain in a browser. WordPress will detect the files and show a setup wizard. Enter your database details (name, username, password, host — the host is usually "localhost"), and then fill in your site title and admin account details.
- Complete the installation — Click "Install WordPress" and the wizard will create all the necessary database tables and complete the setup.
The manual method involves more steps, but each step is straightforward. If you get stuck on the database part, your hosting provider's documentation will have specific instructions for their platform.
Your First WordPress Login
Whether you used one-click or manual installation, your WordPress admin login page will be at:
yoursite.com/wp-admin
Enter the admin username and password you set during installation. After logging in, you'll see the WordPress dashboard:
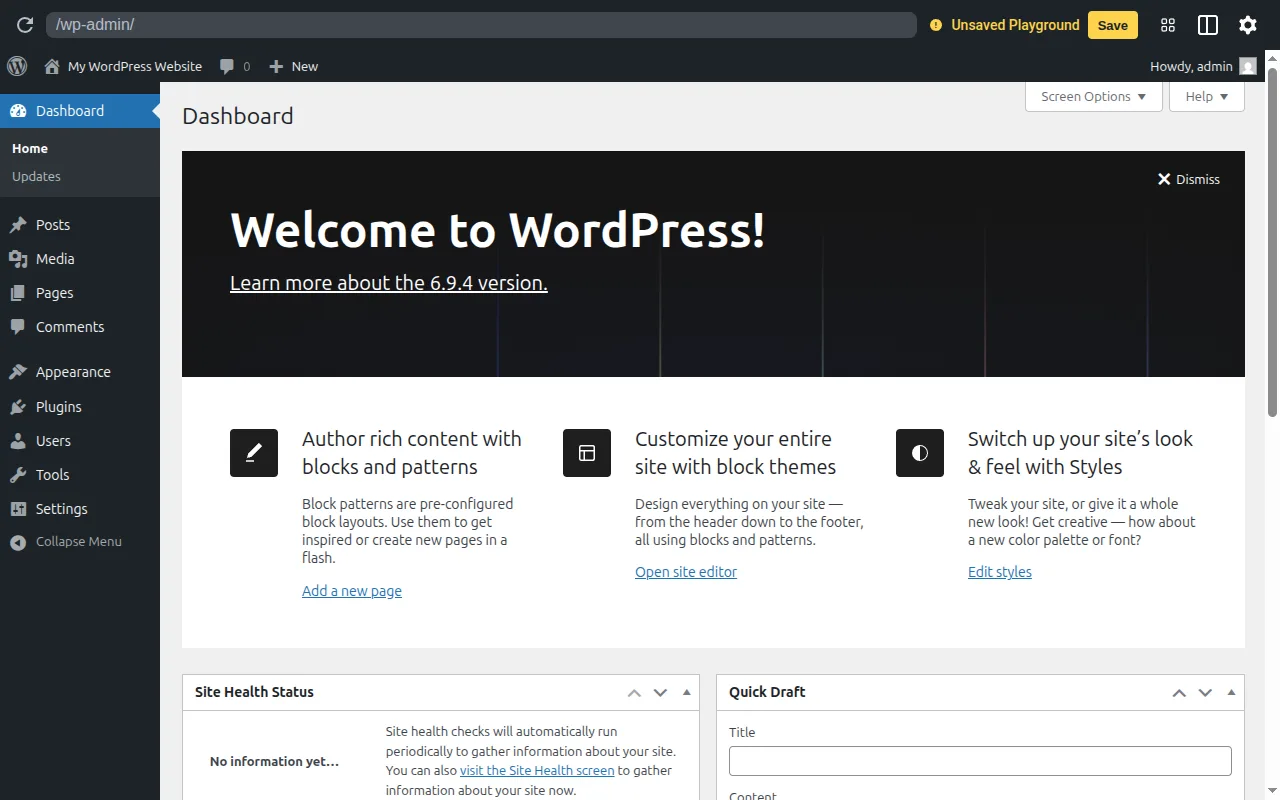
This is your home base. Everything you need to manage your website is accessible from this screen. The left sidebar is your main navigation — it gives you access to Posts, Pages, Media, Appearance, Plugins, Users, and Settings.
Take a few minutes to click around and familiarize yourself with the layout. Don't worry about breaking anything at this stage — you're the only one here and everything can be undone.
Essential First Steps After Installing
Your WordPress installation is live, but there are a few important things to do before you start creating content.
1. Set your permalink structure
By default, WordPress uses ugly URLs like yoursite.com/?p=123. You want clean URLs like yoursite.com/your-post-title. To fix this:
- In the left sidebar, go to Settings > Permalinks
- Select Post name
- Click Save Changes
Do this before you create any content. Changing permalink structure after you have posts can break links.
2. Delete the sample content
WordPress installs with placeholder content: a "Hello World" post and a "Sample Page." Delete both:
- Go to Posts > All Posts, hover over "Hello World," and click Trash
- Go to Pages > All Pages, hover over "Sample Page," and click Trash
3. Install a theme
WordPress comes with a default theme (currently Twenty Twenty-Five), which is actually quite good. But you can browse thousands of alternatives by going to Appearance > Themes > Add New. Popular beginner-friendly free themes include Astra, Kadence, and GeneratePress.
For now, you can leave the default theme and focus on getting your content set up. You can always change the theme later without losing your content.
4. Install essential plugins
A few plugins are worth installing from the start:
- An SEO plugin (Yoast SEO or Rank Math) — Helps you optimize your content for search engines
- A security plugin (Wordfence or Solid Security) — Adds basic security hardening
- A backup plugin (UpdraftPlus) — Automatically backs up your site to cloud storage
- A caching plugin — Improves your site's loading speed
Install plugins by going to Plugins > Add New and searching by name. I cover the full list of must-have plugins in my essential WordPress plugins guide.
5. Update everything
Check Dashboard > Updates and install any pending updates for WordPress core, themes, or plugins. Starting with everything up to date is a good habit.
Creating Your First Post
Once your basic setup is done, you're ready to create content. Go to Posts > Add New to open the block editor:

The block editor works by adding "blocks" — individual pieces of content like paragraphs, headings, images, lists, and more. Here's how to create a basic post:
- Click the title area at the top and type your post's title
- Click the "+" button or press Enter to add your first content block
- Type your content — a paragraph block is added by default when you start typing
- Add more blocks as needed — headings, images, lists, etc.
- Set your categories and tags in the right sidebar under "Post"
- Click "Publish" when you're ready to make it live
The block editor has a gentle learning curve, but within an hour of writing you'll have the basics down. If you want to add an image, click the "+" button and choose "Image." To add a heading, choose "Heading" and select H2 or H3 from the toolbar that appears.
For more guidance on building out your site, see my WordPress themes guide and the essential plugins guide. For keeping your site secure once it's live, read my WordPress security guide.
Ready for the complete picture? My WordPress beginner's guide walks through everything from installation to a fully configured site, step by step. And if you haven't settled on a host yet, my hosting guide will point you in the right direction.
Frequently Asked Questions
How long does it take to install WordPress?
With a one-click installer, the actual installation takes about 60 seconds. Including the time to fill in your details and log in for the first time, figure on 5-10 minutes total. The initial setup steps (permalink structure, plugins, basic settings) add another 15-20 minutes. So plan for about 30 minutes from zero to a configured site.
Can I install WordPress for free?
The WordPress software is free. You need paid hosting to run it, which starts at around $3/month for basic shared hosting. Many hosts offer a free domain for the first year when you sign up for hosting, which can save you $10-15. See my hosting guide for current recommendations and deals.
What if I make a mistake during installation?
Most mistakes during installation are completely reversible. If you entered the wrong database name, you can update it in the wp-config.php file. If you don't like your site title, change it in Settings > General. If something goes really wrong, most hosts let you delete the WordPress installation and start over with a fresh one-click install — it takes about 2 minutes.
Do I need to install WordPress manually or is the one-click installer okay?
The one-click installer is perfectly fine for the vast majority of websites. It installs the same WordPress software that manual installation does — the process is just automated. There's no quality difference in the end result. Manual installation is only necessary if your host doesn't offer a one-click option (uncommon) or if you're setting up a specific advanced configuration.
What's the difference between installing WordPress locally vs. on a live server?
A local installation runs on your own computer and is only visible to you — it's great for development and testing. A live server installation (what this guide covers) is accessible on the internet and is what you need for a real website. Tools like LocalWP make local installation easy if you want to experiment before going live, but for your first WordPress site, go straight to a real hosting account.
Written by Marvin
Our team tests and reviews WordPress products to help beginners make confident choices.
Learn more about our team →