How to Backup Your WordPress Site (3 Methods, Step by Step)
I'm going to tell you about the worst day of my WordPress career. Back in 2014, a client called me in a panic at 11 PM. Their WooCommerce store — a $15,000 build with thousands of products, custom integrations, and two years of order history — was completely gone. A plugin update had corrupted the database, and the hosting company's "daily backups" turned out to be nothing more than a marketing checkbox they never actually configured. We lost everything. Every product listing, every customer record, every order. I had to rebuild from scratch, and it cost my client weeks of downtime and thousands in lost revenue.
That was the day I made a rule I've never broken since: every WordPress site I touch gets a proper backup system on day one, before anything else. Not tomorrow. Not "when we get around to it." Day one. If you're reading this and your site doesn't have backups right now, stop everything and set this up today. I mean it. Everything else can wait.
What a Complete WordPress Backup Includes
Before we dive into the how, you need to understand what actually makes up your WordPress site. A lot of beginners think "backup" means copying a few files, but a WordPress site is actually two things working together, and you need both of them to restore your site properly.
First, there's the WordPress database — this is where all your content lives. Every blog post, every page, every comment, every WooCommerce order, every user account, all your plugin settings, your theme customizer options — it's all stored in a MySQL database. Lose this, and you lose all your content. Second, there's the file system — this includes WordPress core files, your wp-content folder (which contains your themes, plugins, and uploads like images and PDFs), and your wp-config.php configuration file. You need both the database AND the files to do a complete restore. A backup that only covers one of these is only half a backup, and I've seen people learn this the hard way.
Pro tip: The wp-content/uploads folder is often the largest part of your backup. If you've been running a site for years with lots of images, this folder alone can be several gigabytes. Keep this in mind when choosing your backup storage — you'll need enough space.
Method 1: UpdraftPlus (Easiest and Free)
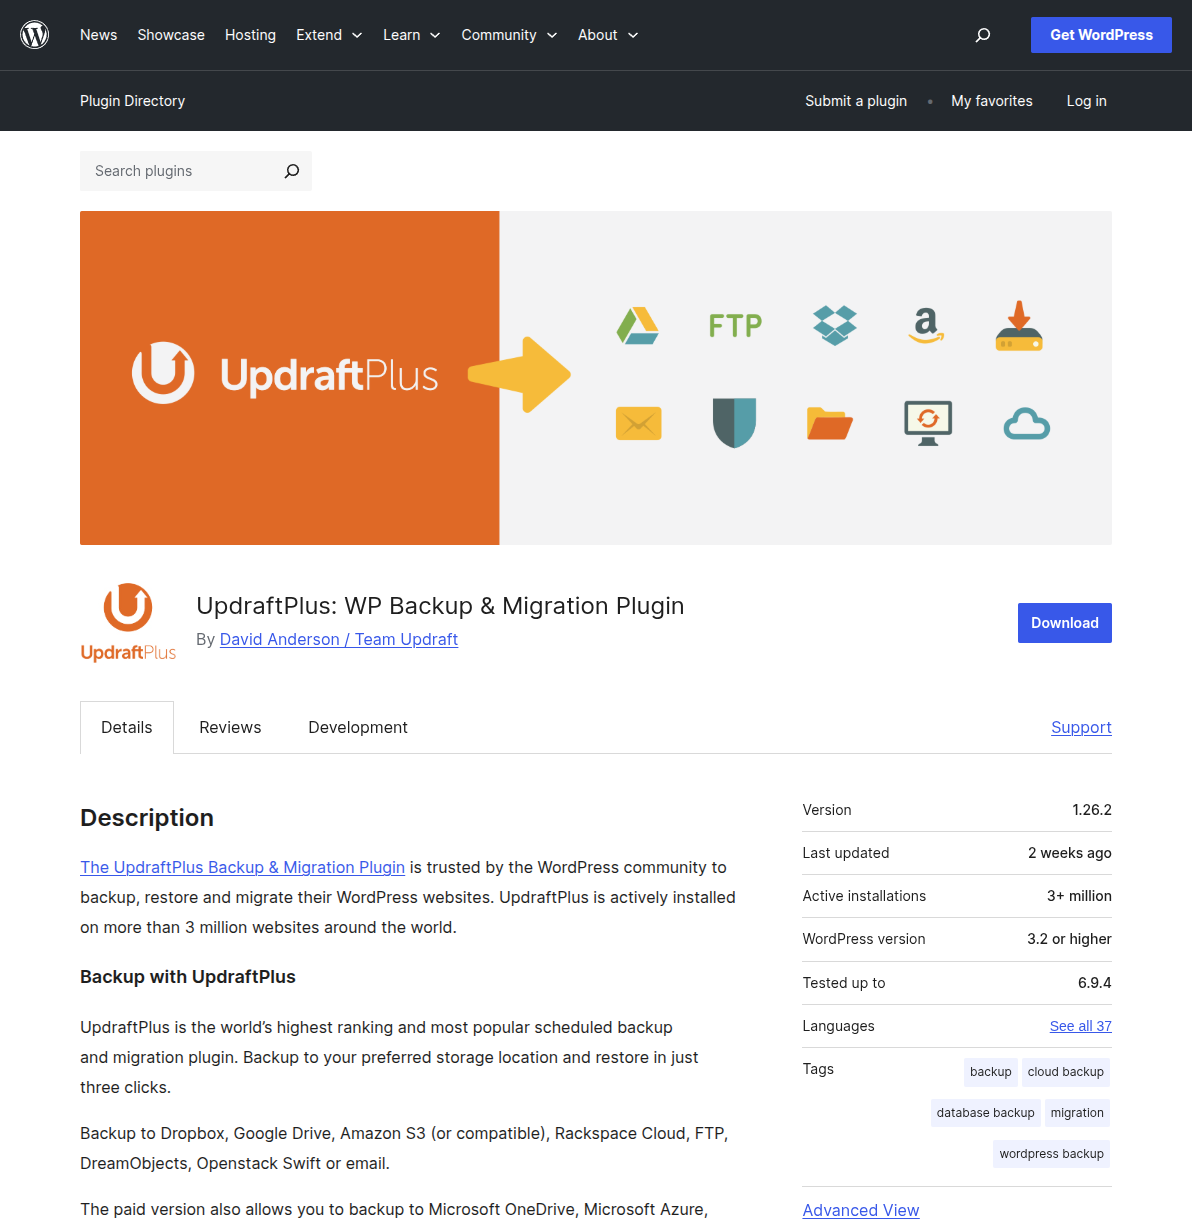
Honestly, if you're a beginner and you want the simplest, most reliable backup solution, UpdraftPlus is the one I recommend to everyone. I've installed it on hundreds of sites over the years, and it just works. It's free, it's been around forever, it has over 3 million active installations, and the restore process is genuinely foolproof. There are fancier options out there, but none that match UpdraftPlus's combination of reliability and simplicity for a free plugin.
Here's exactly how to set it up, step by step:
Step 1: Install UpdraftPlus
Go to your WordPress dashboard and navigate to Plugins → Add New. Search for "UpdraftPlus" — it'll be the first result (look for the orange arrow logo). Click Install Now, then Activate. Once activated, you'll see a new Settings → UpdraftPlus Backups menu item in your dashboard sidebar. Click it to open the main UpdraftPlus dashboard.
Step 2: Configure Your Remote Storage
This is the most important part. Click the Settings tab at the top of the UpdraftPlus page. Here you'll see options for scheduling (we'll get to that) and remote storage. Under "Choose your remote storage," you'll see icons for Google Drive, Dropbox, Amazon S3, and others. I recommend Google Drive for most people — it's free (15 GB), reliable, and easy to connect. Click the Google Drive icon, then follow the authentication prompts to connect your Google account. UpdraftPlus will walk you through the OAuth process.
Warning: Never store your backups only on the same server as your website. If the server dies, you lose both your site AND your backups. That's like keeping your spare house key inside the house. Always use remote storage — Google Drive, Dropbox, or Amazon S3.
Step 3: Set Your Backup Schedule
Still in the Settings tab, set your backup frequency. For the Files backup schedule, I recommend weekly for most sites and daily for active blogs or WooCommerce stores. For the Database backup schedule, set it to daily — databases are small and change frequently. Set "retain this many scheduled backups" to at least 3, so you always have multiple restore points. Click Save Changes at the bottom.
Step 4: Run Your First Backup
Go back to the Backup / Restore tab and click the big blue Backup Now button. A popup will appear with checkboxes — make sure both "Include your database in the backup" and "Include your files in the backup" are checked. Also check "Send this backup to remote storage." Click Backup Now and watch the progress bar. Your first backup might take a few minutes depending on your site size. Once it's done, verify the backup appears in both UpdraftPlus and your Google Drive folder.
Pro tip: After your first backup, go into your Google Drive and actually look at the backup files. You should see several zip files (for plugins, themes, uploads, and others) plus a database file. If you see them there, congratulations — you're protected. If you don't, something went wrong with the remote storage connection and you need to fix it before you forget.
Method 2: Your Hosting Provider's Built-in Backups
Most quality WordPress hosting providers include some form of automatic backup in their plans. This is your second safety net, and honestly, it's one of the reasons I always tell beginners to pick a reputable host over the cheapest option available. Here's what the major hosts offer:
| Hosting Provider | Backup Frequency | Retention | One-Click Restore |
|---|---|---|---|
| SiteGround | Daily automatic | 30 days | Yes |
| Hostinger | Daily/weekly | 7-30 days | Yes |
| Bluehost | Daily (via CodeGuard on higher plans) | 30 days | Yes |
| Cloudways | On-demand + scheduled | Configurable | Yes |
SiteGround is probably the best in this department — their daily backups are automatic on all plans, stored separately from your server, and the restore process takes literally two clicks in the Site Tools panel. Go to Site Tools → Security → Backups, pick a date, and hit Restore. I've done this dozens of times for clients and it works flawlessly. Hostinger offers similar functionality through their hPanel under Files → Backups.
However, here's something most tutorials won't tell you: don't rely solely on your host's backups. I've seen hosting companies lose backup data, change their backup policies without notice, or have their backup systems fail silently. Your host's backup is a convenient safety net, but it should always be paired with your own independent backup via UpdraftPlus or a similar plugin. Two backup systems are infinitely better than one.
Method 3: Manual Backup via cPanel and phpMyAdmin
If you're a developer or you just want to understand what's happening under the hood, you can do a manual backup through cPanel. This is also useful when you're about to do something risky — like a major WordPress version update or a server migration — and you want a guaranteed clean snapshot. I still do manual backups before every major operation, even with automated backups running.
Backing Up Your Files
Log into cPanel (usually at yourdomain.com/cpanel or through your host's dashboard). Open the File Manager and navigate to your public_html directory (or whatever your WordPress root directory is). Select all files and folders, right-click, and choose Compress. Pick ZIP format, give it a descriptive name like backup-2026-03-15.zip, and compress. Then download the ZIP file to your local computer. This gives you a complete copy of all your WordPress files.
Backing Up Your Database
Still in cPanel, open phpMyAdmin. In the left sidebar, click on your WordPress database (it usually has "wp" in the name — check your wp-config.php file for the exact name if you're not sure). Click the Export tab at the top. Select "Quick" export method and "SQL" format, then click Go. A .sql file will download. Store this file alongside your ZIP backup.
Pro tip: If you want a cleaner export, use the "Custom" export method instead of "Quick." This lets you add DROP TABLE statements (which makes restoring cleaner) and choose compression (gzip makes the file much smaller). I always use Custom export for production backups.
Warning: Manual backups are only useful if you actually remember to do them. This is why I recommend UpdraftPlus as your primary backup method — it runs on autopilot. Think of manual backups as your "belt and suspenders" approach before risky operations, not your daily strategy.
Backup Schedule Recommendations
Not every site needs the same backup schedule. Over the years, I've settled on these recommendations based on how active a site is:
| Site Type | Database Backup | Files Backup | Keep How Many |
|---|---|---|---|
| WooCommerce / membership site | Every 4-8 hours | Daily | 14+ copies |
| Active blog (posts multiple times/week) | Daily | Daily | 7-14 copies |
| Regular blog (weekly posts) | Daily | Weekly | 5-7 copies |
| Static / brochure site | Weekly | Weekly | 3-5 copies |
The key insight is that your database changes far more frequently than your files. Every new comment, every WooCommerce order, every settings change goes into the database. Your files only change when you upload new media, install plugins, or update themes. So it makes sense to back up the database more often. For a WooCommerce store, losing even a few hours of orders can be a nightmare — I've seen store owners lose entire days of sales data because their backup schedule wasn't aggressive enough.
Pro tip: UpdraftPlus lets you set different schedules for files and database. Use this. There's no reason to back up 5 GB of uploads every day if they haven't changed since last week.
Where to Store Your Backups
I mentioned this earlier, but it's worth hammering home: never store backups only on the same server as your website. I've seen this mistake so many times it hurts. Your server's hard drive fails, and you lose both the site and the backup in one shot. Here are the best remote storage options I recommend, ranked by how practical they are for most people:
Google Drive — My top pick for most people. You get 15 GB free with any Google account, it integrates directly with UpdraftPlus, and you probably already have a Google account. For a typical blog, 15 GB is more than enough for several weeks of backups. If you need more space, Google One plans start at a couple of dollars per month for 100 GB.
Dropbox — Another solid free option with 2 GB of free storage (less than Google Drive, but fine for small sites). The UpdraftPlus integration works well, and Dropbox has excellent file versioning so you can recover older versions of backup files. I use Dropbox for a few client sites where the client already had a Dropbox Business account.
Amazon S3 — The professional choice. It's incredibly cheap (a few cents per GB per month), virtually unlimited in capacity, and extremely reliable (99.999999999% durability — that's eleven 9s). The downside is that it's more complex to set up than Google Drive. I use S3 for high-value client sites and WooCommerce stores where losing data isn't an option. If you're running a serious business site, S3 is worth the extra setup effort.
The 3-2-1 rule: For critical sites, I follow the 3-2-1 backup rule: keep 3 copies of your data, on 2 different types of storage, with 1 copy offsite. In practice, that means UpdraftPlus backing up to Google Drive (copy 1 offsite), your host's daily backup (copy 2 on server), and an occasional manual download to your local computer (copy 3 different media). Overkill for a personal blog? Maybe. But when you're running a business website, you'll sleep better knowing your data is safe in three places.
How to Restore from a Backup
Having backups is only half the equation — you also need to know how to restore them when disaster strikes. The good news is that UpdraftPlus makes the restore process almost embarrassingly simple. Here's exactly what to do:
Go to Settings → UpdraftPlus Backups in your WordPress dashboard. Scroll down to the Existing Backups section. You'll see a list of all your backups with dates. Find the backup you want to restore from and click the Restore button next to it. UpdraftPlus will ask you which components to restore — you can choose from Plugins, Themes, Uploads, Other files, and Database. For a complete restore, check all of them. Click Next, then Restore.
UpdraftPlus will download the backup files from your remote storage (if they're not already on the server), unpack them, and restore everything. The process usually takes a few minutes. When it's done, you'll see a success message. Log back into your site and verify everything looks correct — check your homepage, a few posts, your plugins page, and your theme settings.
Warning: If your WordPress dashboard is completely inaccessible (white screen of death, database connection error, etc.), you can still restore by manually uploading the UpdraftPlus plugin and backup files via FTP or cPanel File Manager. Install a fresh WordPress, activate UpdraftPlus, upload your backup files to /wp-content/updraft/, and then use the UpdraftPlus dashboard to detect and restore them. I've done this procedure more times than I'd like to admit, and it works every time.
Pro tip: Test your backup restoration at least once. Don't wait until disaster strikes to find out if your backups actually work. Set up a staging site or local WordPress installation, restore a backup to it, and verify everything functions correctly. I do this quarterly for all my important sites. A backup you've never tested is a backup you can't trust. For more hands-on guides like this one, explore our WordPress tutorials section.
Common Backup Mistakes to Avoid
After managing backups on hundreds of WordPress sites, I've seen every mistake in the book. Here are the ones that catch people most often:
- Only backing up files, not the database — Your content lives in the database. Files without a database give you an empty WordPress shell.
- Storing backups only on the web server — Server dies, backups die with it. Always use remote storage.
- Never testing restores — A backup file that's corrupted or incomplete is worthless. Test your restores.
- Keeping only one backup — If your latest backup captured a hacked site, you need an older clean backup to fall back on. Keep at least 3-5 copies.
- Backing up but not monitoring — UpdraftPlus can send email notifications when backups complete or fail. Enable these. I've had backup jobs silently fail for weeks because nobody was monitoring them.
Frequently Asked Questions
How often should I backup my WordPress site?
It depends on how often your content changes. For most blogs, daily database backups and weekly file backups are sufficient. For WooCommerce stores or membership sites where data changes constantly, back up the database every 4-8 hours and files daily. The question to ask yourself is: "How much data can I afford to lose?" If losing a day's worth of orders would be devastating, you need more frequent backups.
Is UpdraftPlus really free?
Yes, the core plugin is completely free and includes everything most sites need: scheduled backups, remote storage to Google Drive or Dropbox, and one-click restore. The premium version adds features like incremental backups, more storage options (OneDrive, Azure, SFTP), automatic pre-update backups, and migration tools. Honestly, the free version is more than enough for most WordPress sites. I only recommend premium for WooCommerce stores or sites that need incremental backups to save server resources.
Can I backup my WordPress site without a plugin?
Yes, using the manual method through cPanel and phpMyAdmin that I described above. You can also use WP-CLI commands (wp db export for the database) or write a custom bash script if you're comfortable with the command line. However, for most people, a plugin like UpdraftPlus is far more practical because it automates the process and handles both files and database in one click. Manual backups are great as an additional layer, but they shouldn't be your only backup strategy because you'll inevitably forget.
What's the difference between a backup and a staging site?
A backup is a snapshot of your site at a specific point in time that you store for recovery purposes. A staging site is a live copy of your site where you can test changes before pushing them to production. They serve different purposes: backups protect against data loss, while staging sites protect against bad updates or code changes. Ideally, you should have both. Many quality hosts offer one-click staging as part of their plans.
My site got hacked — can I restore from a backup to fix it?
Yes, but with an important caveat: you need to restore from a backup that was created before the hack occurred. This is why keeping multiple backup copies over several weeks is crucial. If your only backup is from yesterday and the hack happened three days ago, that backup is also compromised. After restoring a clean backup, immediately update all your passwords, update WordPress core and all security plugins, scan for remaining malware, and patch whatever vulnerability the hacker exploited in the first place.

Written by Marvin
Our team tests and reviews WordPress products to help beginners make confident choices.
Learn more about our team →You might also like
WordPress Security Checklist: 12 Steps to Protect Your Site
WordPress doesn't get hacked because it's insecure — it gets hacked because people skip basic precautions. Here is the 12-step WordPress security checklist I follow on every site I build.
postWooCommerce AI Automation: How to Run Your Store With AI in 2026
A practical guide to WooCommerce AI automation in 2026: the real tools, the working AI agent setups, and the parts of your store you should never hand over to a bot.
postWordPress 7.0: Everything You Need to Know About the 2026 Release
WordPress 7.0 is the biggest release in years — real-time collaboration, the Abilities API for AI, and expanded Block Bindings. Here is the confirmed timeline, the feature list, and exactly how to prepare your site.
postBest AI Plugins for WordPress in 2026 (Tested and Reviewed)
I spent three months testing AI plugins on my own WordPress sites. Here are the 9 that are actually worth installing in 2026 — honest pricing, real install counts, and where each one fits.