How to Make a WordPress Website — Complete Beginner's Guide (2026)
I've been building websites for over 20 years and working with WordPress for more than a decade. If you've ever wondered whether you can build a proper website without hiring a developer or learning to code — the answer is yes, and WordPress is how you do it.
This guide walks through every single step, from getting hosting to publishing your first content. I've added screenshots at the key moments so you know exactly what to expect. Plan for about an hour from start to finish, and by the end you'll have a real, live WordPress website.
If you're not sure what WordPress actually is yet, start with What Is WordPress? — that covers the basics before you dive in here.
What You'll Need to Get Started
Before I walk you through the steps, here's a quick overview of what's involved:
- Web hosting — roughly $3–10 per month. This is the server where your website lives.
- A domain name — about $10 per year. This is your website's address (like yourname.com). Most hosts include one free for the first year.
- About one hour — maybe less if you move quickly through the steps.
That's it. No coding knowledge required. WordPress itself is free.
One thing to clear up before we go further: there are two "WordPresses" — WordPress.org (the free, self-hosted software) and WordPress.com (a commercial hosting service). This guide is about WordPress.org, which is what almost everyone means when they say "WordPress." If you're curious about the difference, I've written a full breakdown in WordPress.com vs WordPress.org.
Step 1 — Choose a WordPress Hosting Provider
Time estimate: 10–15 minutes (including signup)
Web hosting is the service that stores your website's files and makes them accessible on the internet. Think of it like renting space on a computer that's always switched on and connected to the internet.
Choosing the right host matters more than most beginners realize. A slow or unreliable host will hurt your visitor experience and your search rankings from day one. The good news is that decent hosting for a new WordPress site doesn't cost much.
For most beginners, I recommend one of these three:
Bluehost
Officially recommended by WordPress.org, Bluehost has a beginner-friendly dashboard and includes a free domain with most plans. Good starting point if you want something reliable and well-documented.

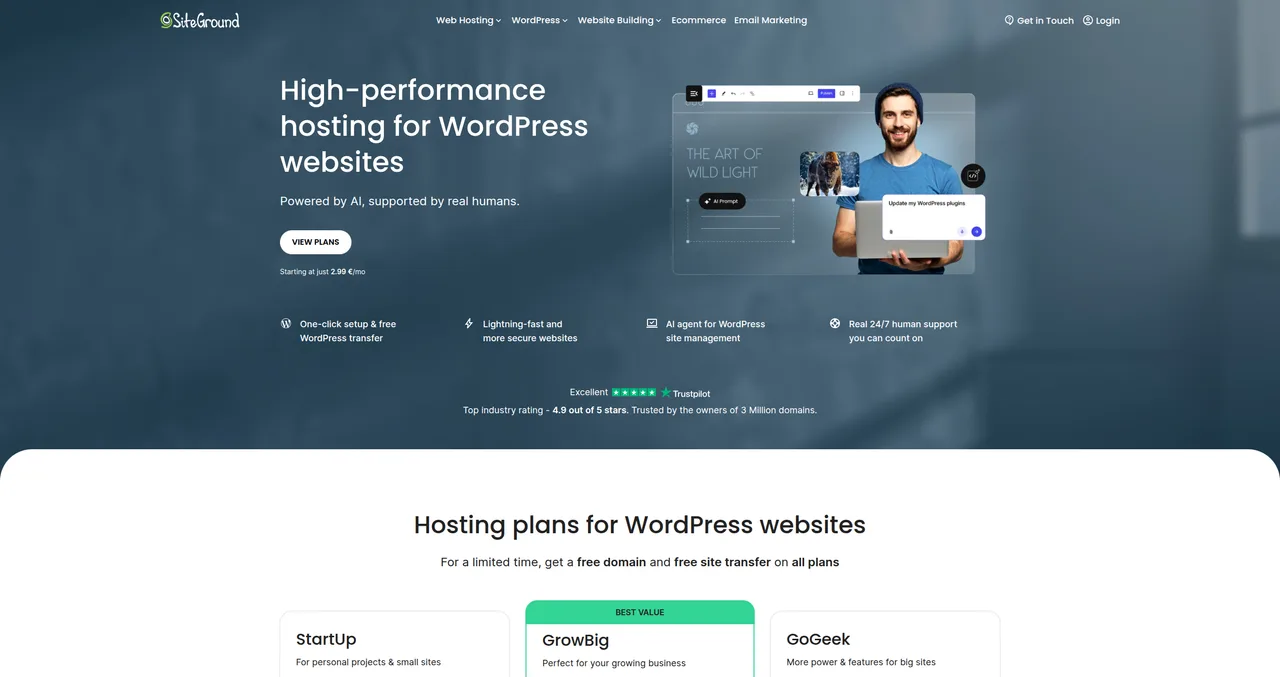
SiteGround
Excellent performance and support, slightly higher price but worth it once your site gets traffic. SiteGround is a strong choice if speed and uptime reliability are your priorities.
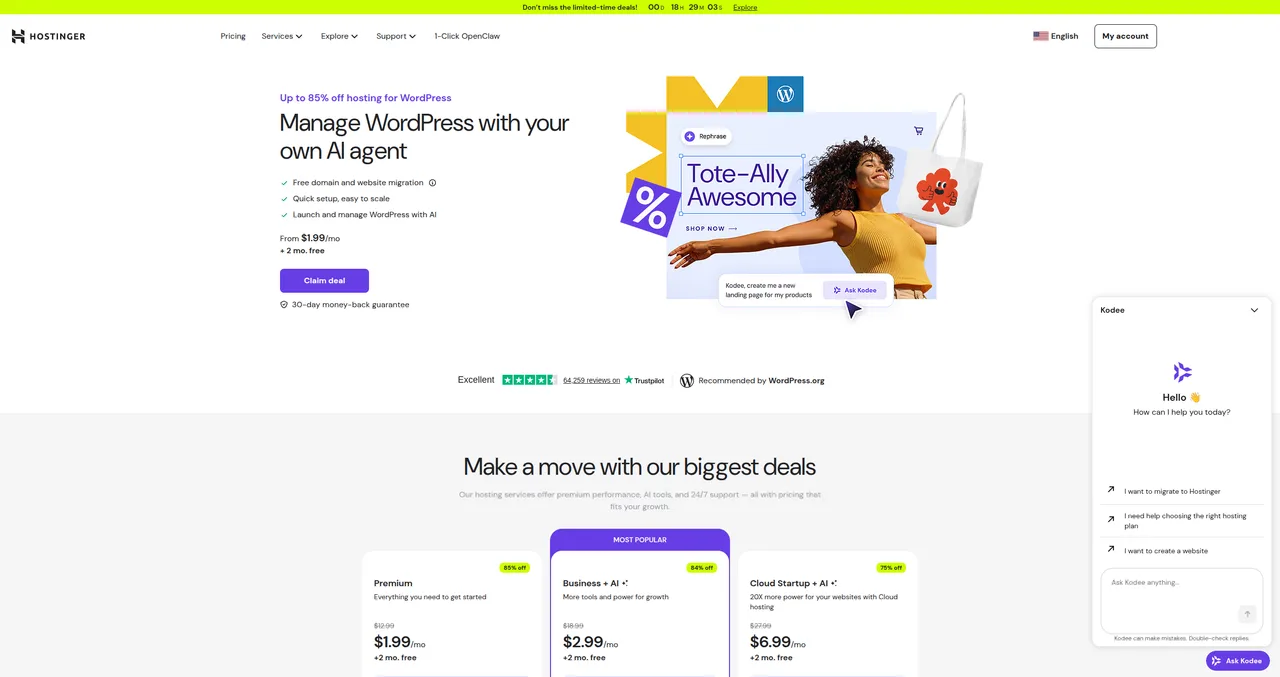
Hostinger
The most affordable option (often under $3/month), with solid performance for a new site and very smooth onboarding. Hostinger also offers AI-powered tools that can help you get started faster.
All three offer one-click WordPress installation, which makes Step 3 a lot easier. I've tested and compared them in detail in my WordPress hosting guide — if you're not sure which to pick, start there.
Step 2 — Register Your Domain Name
Time estimate: 5 minutes
Your domain name is your website's address — the thing people type to find you. Something like yourname.com or mybusiness.com.
Domain names typically cost around $10–15 per year. Most hosting providers let you register a domain as part of the signup process, and many include a free domain for the first year with their hosting plans. This is convenient — one less account to manage.
A few tips for choosing a good domain name:
- Keep it short and easy to spell — the fewer characters, the better
- Avoid hyphens and numbers — they're easy to get wrong when telling someone your URL
- Go with .com if you can — it's still the most trusted extension and what people default to typing
- Make it memorable — ideally it should say something about what the site is about
- Don't overthink it — your domain name matters less than the quality of your content. Most successful sites have straightforward, descriptive names.
If your first choice is taken, try adding a word like "the," "my," or a relevant keyword. Or use a domain name generator to brainstorm alternatives.
Step 3 — Install WordPress
Time estimate: 5 minutes
Once you have hosting, installing WordPress is fast. Nearly every hosting provider offers a one-click WordPress installer — you fill in a few fields, click install, and WordPress is set up automatically.
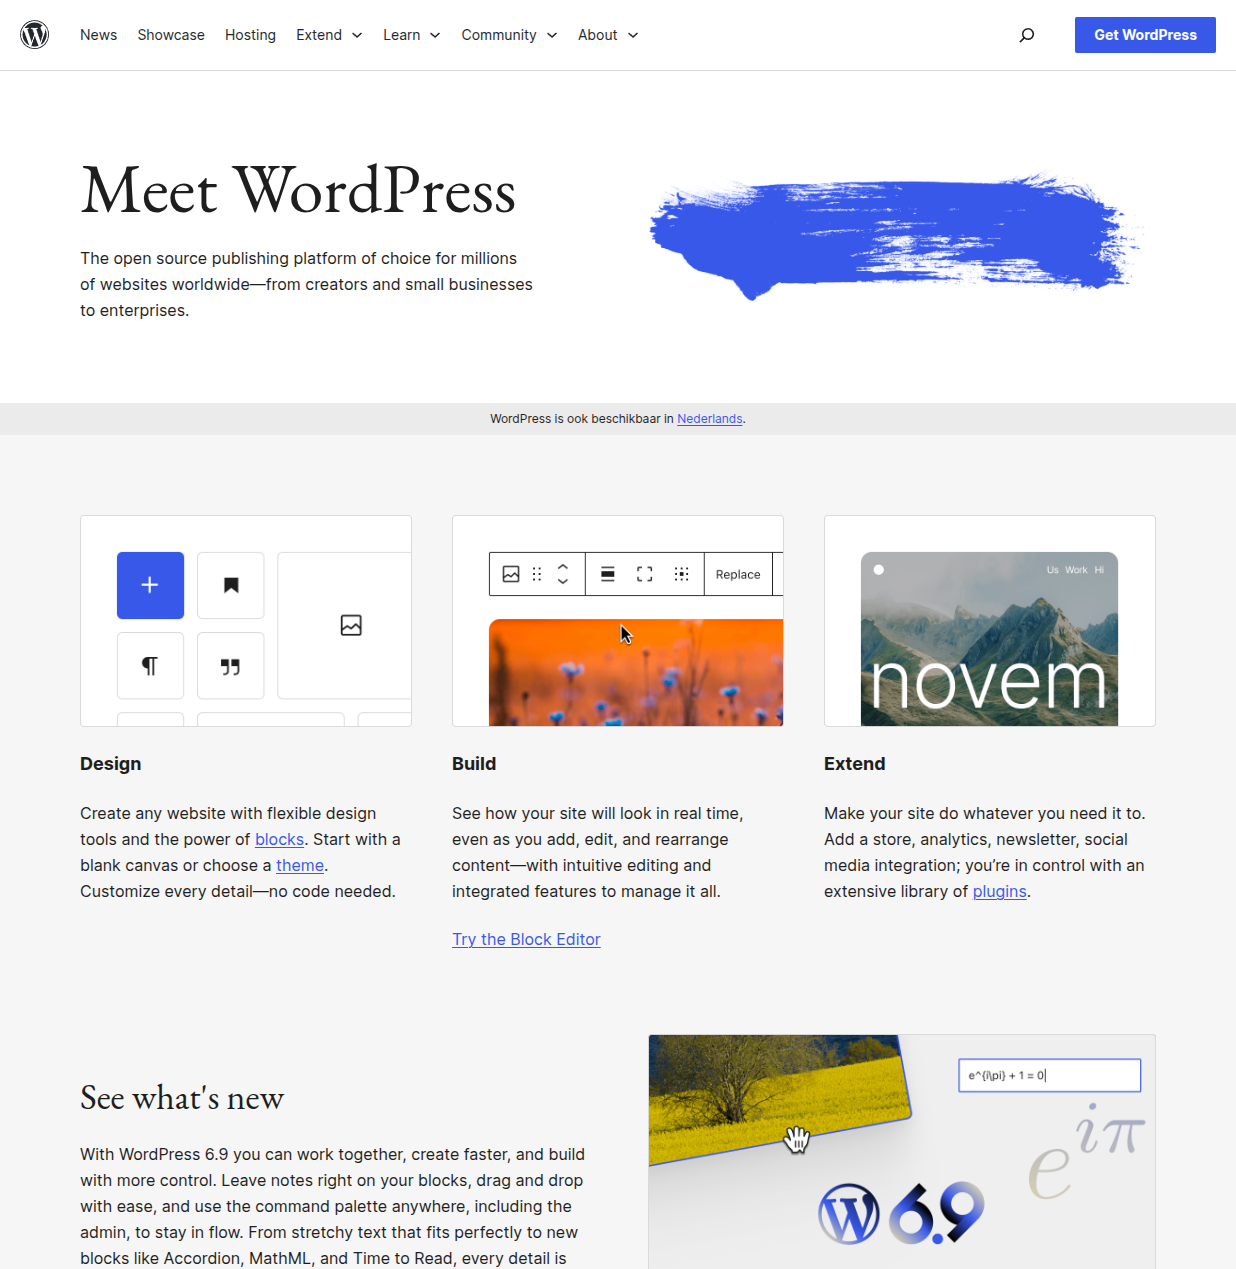
The WordPress software itself comes from WordPress.org (pictured above). Your host downloads and installs it for you when you use the one-click installer, so you never have to go there manually.
During installation, you'll be asked for:
- Site title — your website's name (you can change this later)
- Admin username — avoid using "admin" as it's a common target for attacks
- Admin password — use something strong and store it in a password manager
- Admin email — use a real address, WordPress sends password resets and notifications here
For a detailed walkthrough including screenshots for different hosting providers, see my step-by-step WordPress installation guide.
Step 4 — Log In to Your WordPress Dashboard
Time estimate: 2 minutes
Once WordPress is installed, your admin login page lives at:
yoursite.com/wp-admin
Enter the username and password you set during installation. After logging in, you'll see the WordPress dashboard:
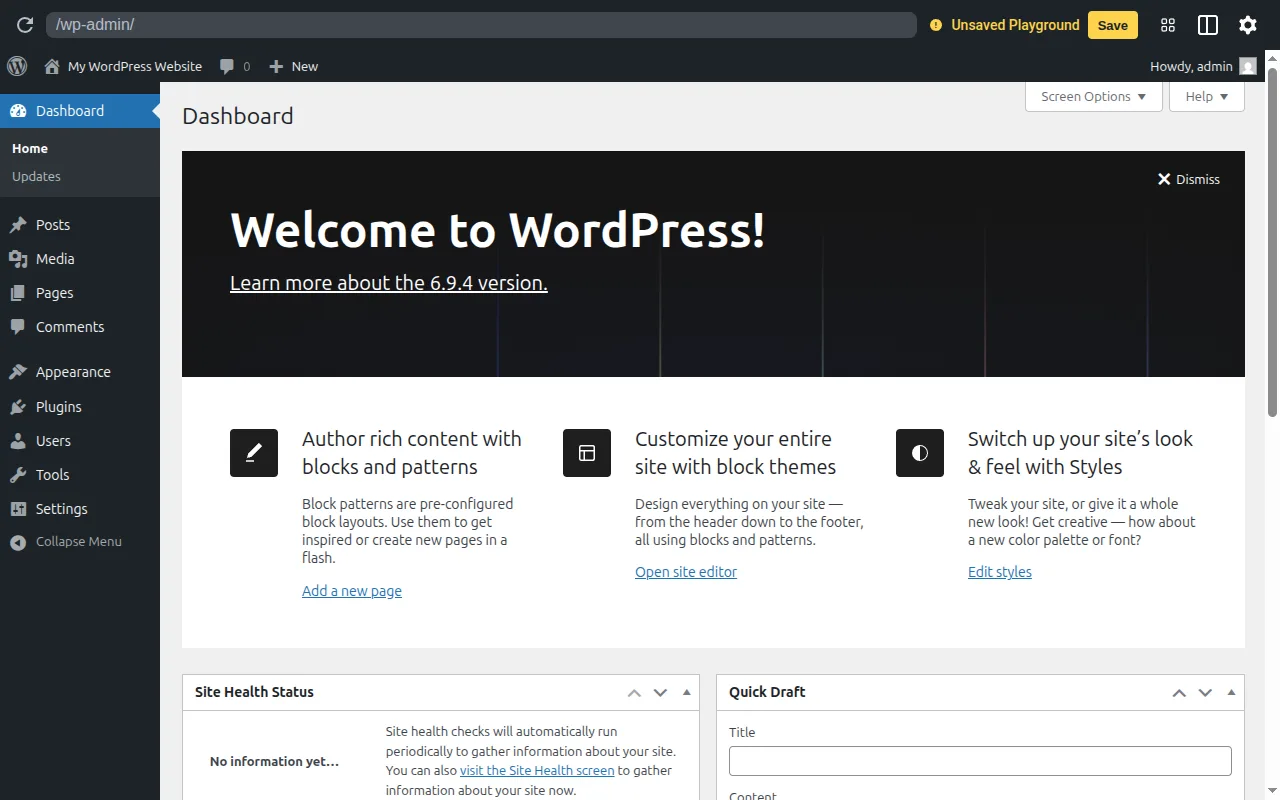
This is your control center. Everything you need to manage your website is accessible from here. Here's a quick overview of the left sidebar menu:
- Dashboard — overview of site activity, updates, and quick links
- Posts — where you write and manage blog posts
- Pages — where you manage standalone pages (About, Contact, etc.)
- Media — your uploaded images and files
- Appearance — themes, menus, and visual customization
- Plugins — install, activate, and manage plugins
- Users — manage user accounts and roles
- Settings — general site configuration
Don't worry about learning every menu right now. We'll go through the important parts step by step. If you want a thorough walkthrough of every dashboard section, see my WordPress dashboard explained guide. And for a broader overview of learning resources, check out my WordPress tutorials guide.
Step 5 — Choose and Install a Theme
Time estimate: 10–20 minutes
A WordPress theme controls how your website looks — its layout, colors, fonts, and overall design. You can switch themes at any time without losing your content, so there's no pressure to get this perfect on day one.
To browse and install themes, go to Appearance > Themes in your dashboard:
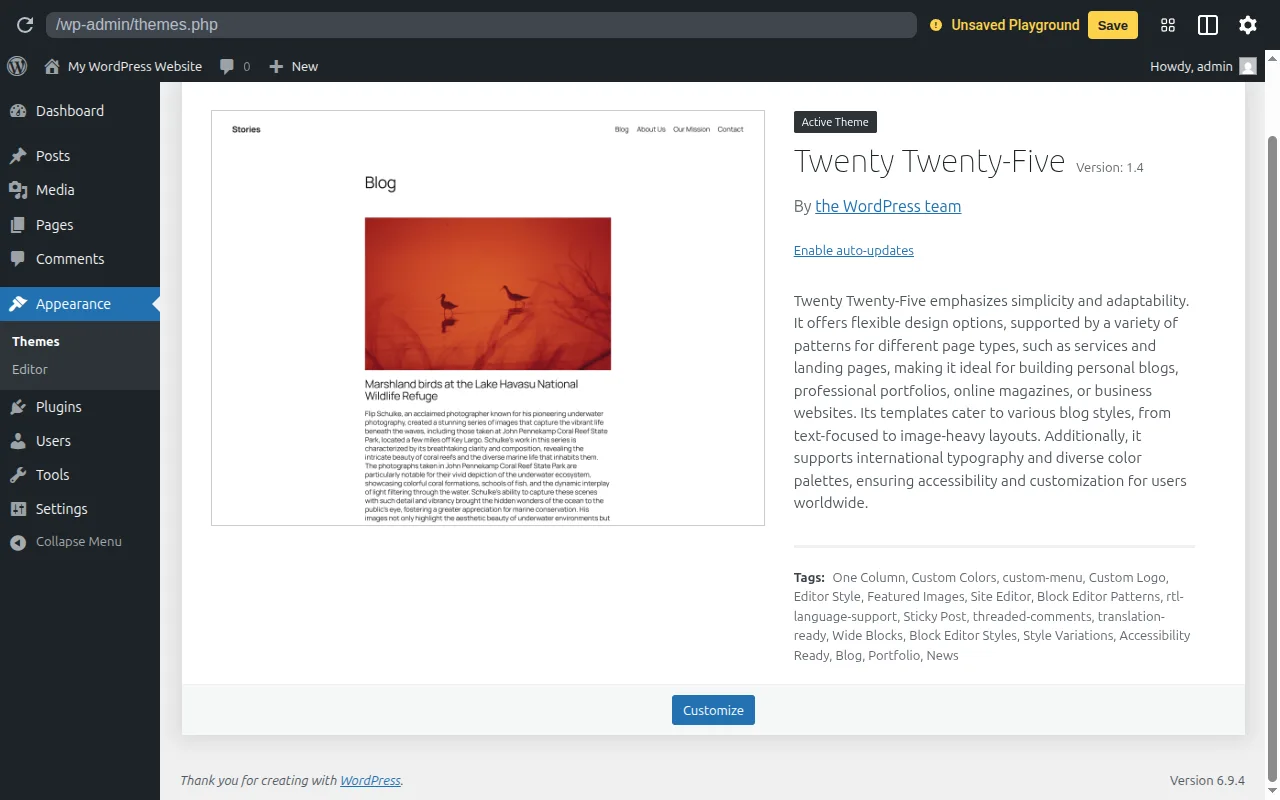
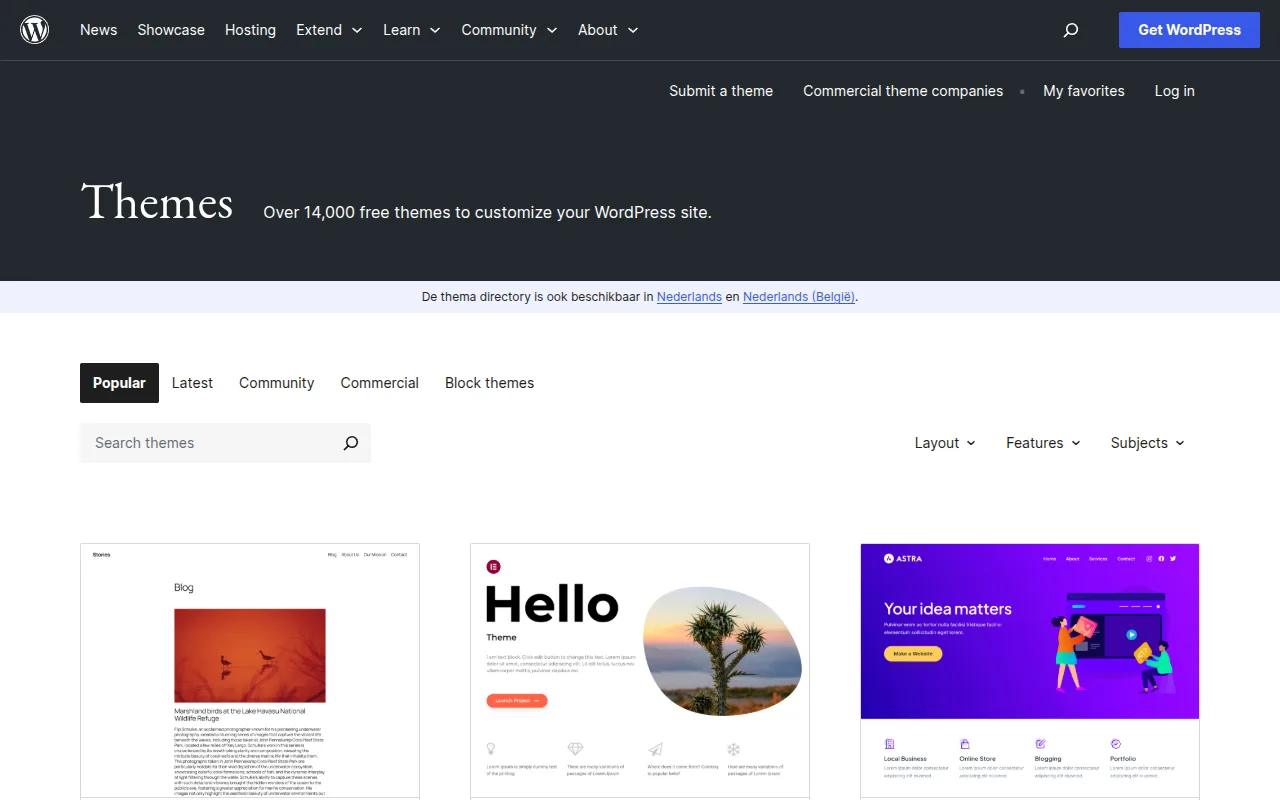
Click Add New Theme to search the WordPress theme directory, which has over 14,000 free themes. You can filter by features, layout, and subject.
For beginners, I recommend starting with one of these:
- Astra — lightweight, fast, and highly customizable. One of the most popular WordPress themes in the world for good reason.
- GeneratePress — similar to Astra, extremely fast, and developer-loved. Slightly more minimal out of the box.
Both have free versions that work well for most sites, and premium upgrades if you need advanced features later. I cover theme options in more detail in my WordPress themes guide, including premium recommendations and what to look for.
To install a theme: find it in the directory, click Install, then click Activate. Your site will immediately switch to the new look.
Step 6 — Install Essential Plugins
Time estimate: 10–15 minutes
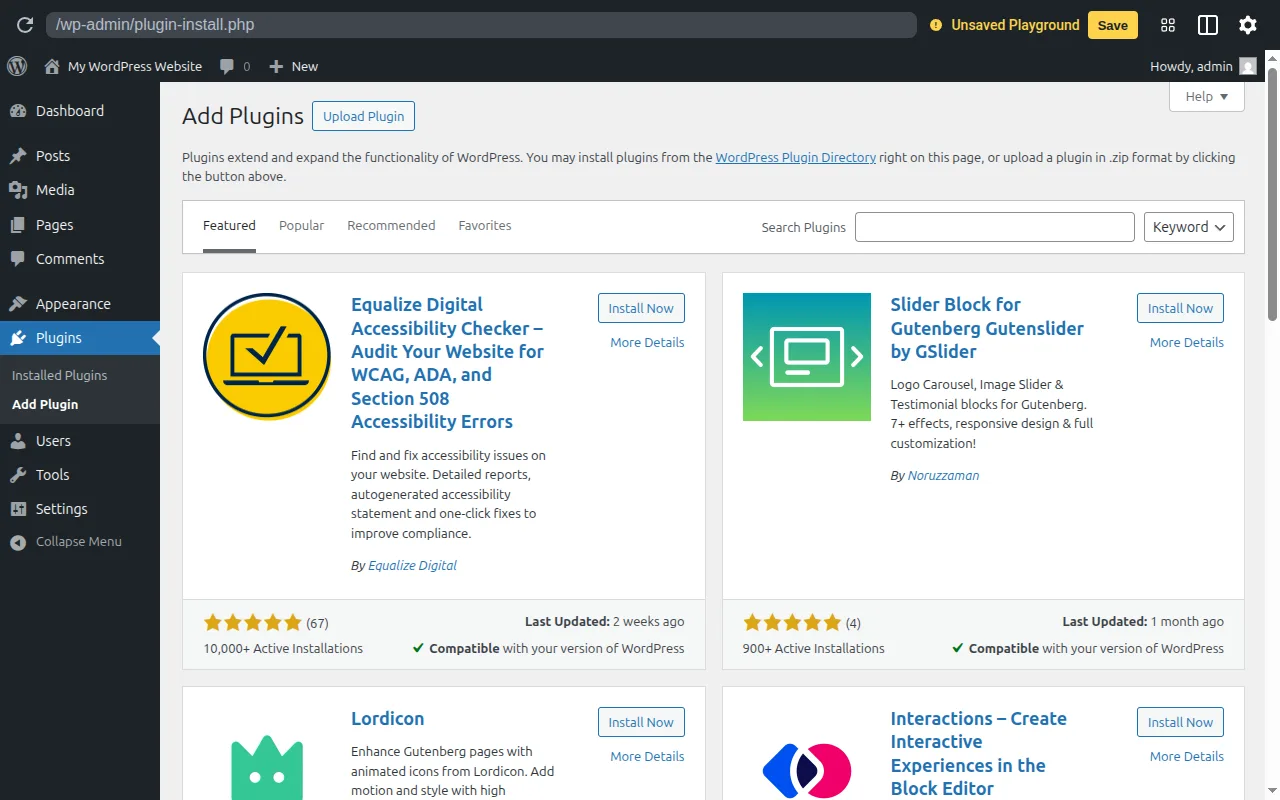
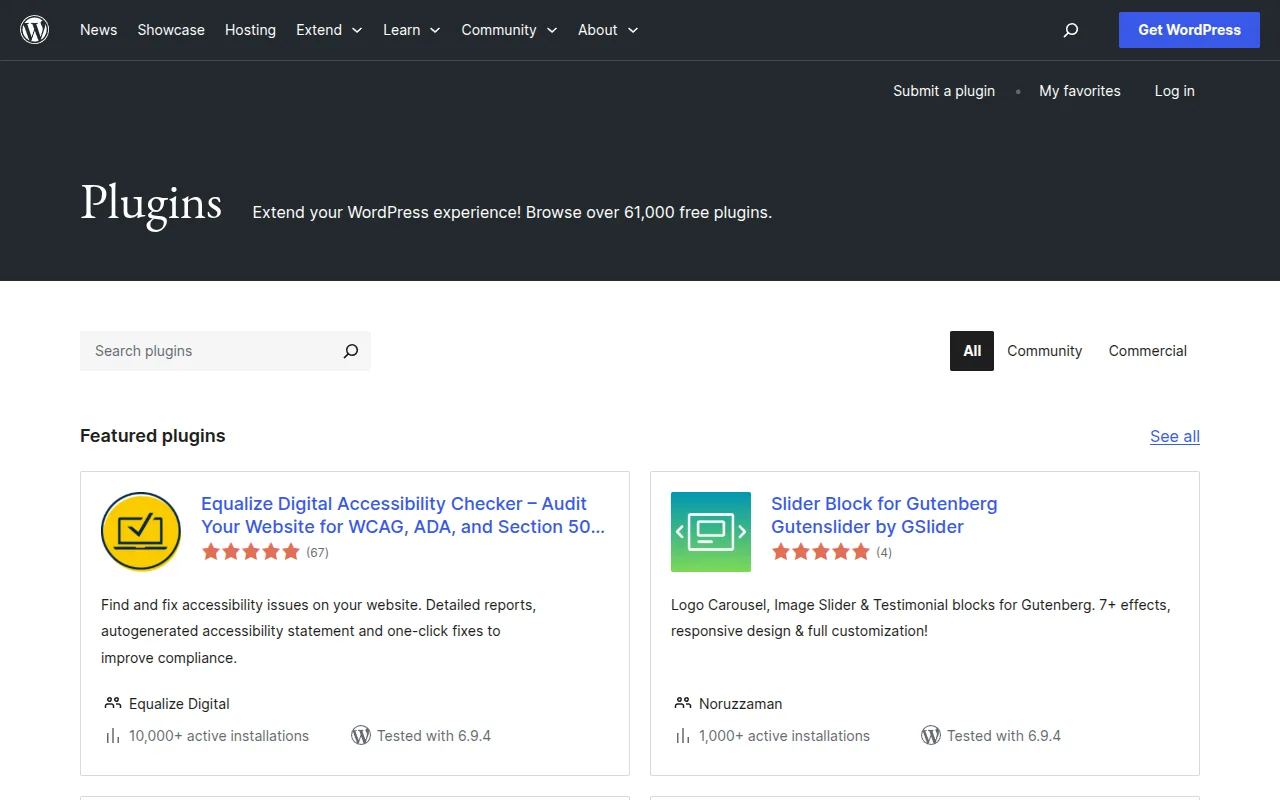
Plugins add functionality to WordPress. There are over 60,000 free plugins in the official directory — everything from contact forms to e-commerce to security. You don't need most of them, but a few are worth installing on every site.
Go to Plugins > Add New Plugin in your dashboard:
Here are the five plugins I install on every new WordPress site:
- Yoast SEO — helps you optimize your content for search engines. It adds a checklist to every post and page showing what you can improve, and it handles your sitemap automatically.
- LiteSpeed Cache (or WP Super Cache if your host doesn't use LiteSpeed) — speeds up your site by caching pages. A faster site means better rankings and happier visitors.
- UpdraftPlus — automated backups to Google Drive, Dropbox, or another cloud service. Set it up once and never worry about losing your site.
- WPForms Lite — the easiest way to add a contact form to your site. The free version covers everything a new site needs.
- Wordfence Security — adds a firewall and malware scanner. The free version provides solid protection for most sites.
To install each one: search by name, click Install Now, then click Activate. Each plugin will add its own menu item in your dashboard where you can configure it.
For a full list of recommended plugins by category, see my essential WordPress plugins guide.
Step 7 — Configure Your Site Settings
Time estimate: 5 minutes
Before creating content, there are a few settings worth getting right from the start. The most important one is your permalink structure.
Permalink structure
By default, WordPress uses ugly URLs like yoursite.com/?p=123. You want clean, readable URLs like yoursite.com/your-post-title. This matters for both user experience and SEO.
Go to Settings > Permalinks:
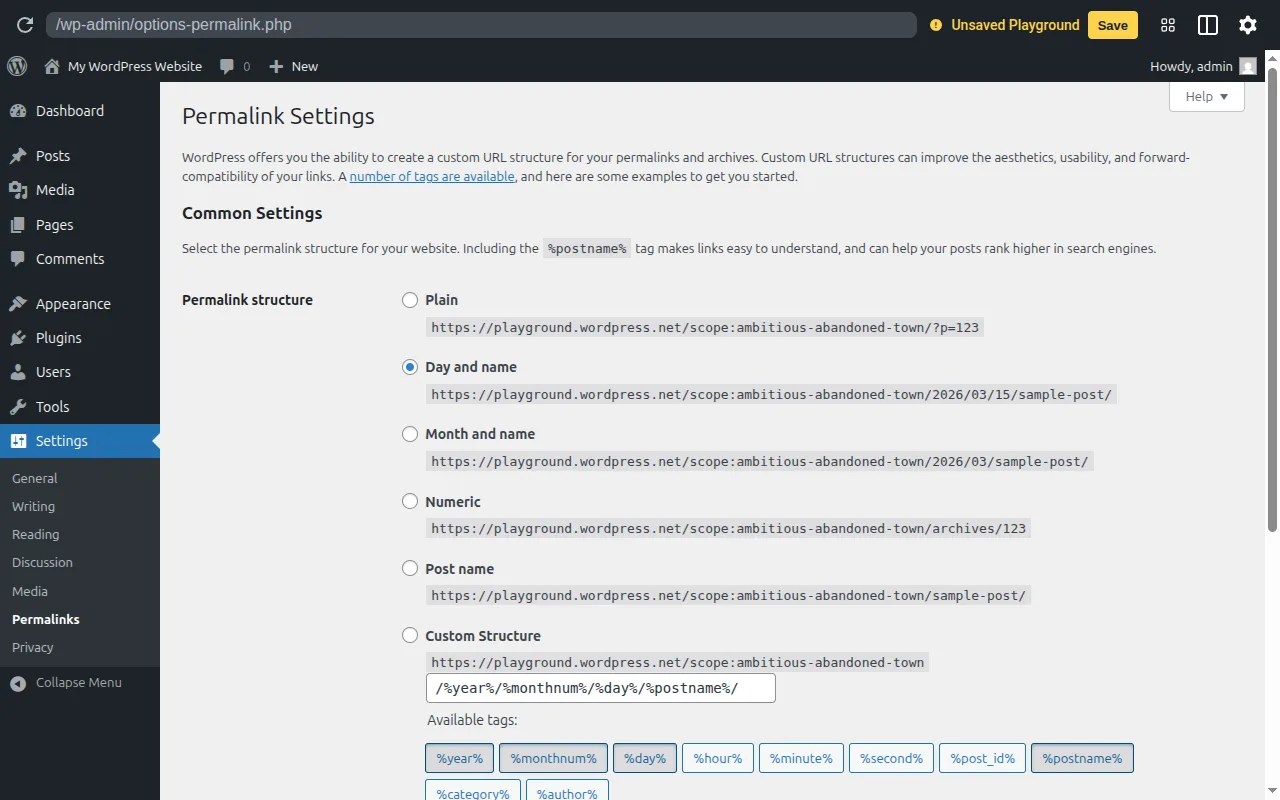
Select Post name and click Save Changes. Do this before you create any content — changing your permalink structure later will break existing URLs and require setting up redirects.
Other settings to check
- Settings > General — confirm your site title and tagline. Set your timezone correctly (this affects when scheduled posts publish).
- Settings > Reading — by default WordPress shows your latest posts on the homepage. If you want a static page as your homepage instead, you can set that here (we'll come back to this in Step 8).
- Settings > Discussion — decide whether to allow comments on posts. For a new site, the defaults are fine.
Step 8 — Create Your First Pages
Time estimate: 15–20 minutes
Pages in WordPress are for content that doesn't change often and isn't part of your blog — things like your homepage, About page, and Contact page. They're different from Posts (which are dated blog entries that appear in reverse-chronological order).
Go to Pages > Add New Page to open the block editor:

The block editor works by adding "blocks" — individual pieces of content. A paragraph is a block. A heading is a block. An image is a block. You build pages by stacking blocks.
Create these three pages to start:
Home page
For a new site, I'd start simple. Write a brief introduction to who you are and what the site is about. You can always redesign this later once you know what content you're building around.
About page
Tell visitors who you are, your background, and why you created this site. This is often one of the most-visited pages on any website — people want to know who's behind it.
Contact page
Add a contact form using WPForms (the plugin you installed in Step 6). Go to WPForms > Add New, use the simple contact form template, and copy the generated shortcode onto your Contact page.
Once you've created your Home and About pages, go to Settings > Reading and set your "Homepage displays" to "A static page," then select your Home page. This makes your custom page appear at yoursite.com instead of a list of posts.
Step 9 — Write Your First Blog Post
Time estimate: 20–60 minutes depending on length
Posts are the blogging side of WordPress — dated entries that appear in reverse-chronological order and are organized by categories and tags. If your site has a blog, newsletter, or news section, posts are what you'll use.
Go to Posts > Add New Post. The editor looks and works the same as the page editor.
A few things to know about posts that are different from pages:
- Categories — broad groupings that organize your content. Every post should have at least one category. Set these in the right sidebar under "Post."
- Tags — more specific keywords. Optional, but useful for content discovery.
- Featured image — the main image that appears with your post in listings. Set this in the right sidebar under "Post." Most themes display this at the top of the post and in any post grids or archives.
- Excerpt — a short summary of the post. Some themes display this in listings. If you don't write one, WordPress will auto-generate it from your first paragraph.
When you're ready to publish, click the blue Publish button in the top right. WordPress will ask you to confirm — click Publish again and your post is live.
Step 10 — Set Up Your Navigation Menu
Time estimate: 5 minutes
Your navigation menu is the bar of links at the top (or side) of your site that helps visitors find their way around. By default, WordPress may show a basic menu or nothing — either way you'll want to set this up manually.
Go to Appearance > Menus (or Appearance > Editor > Navigation if your theme uses the newer Site Editor).
Here's the process for classic themes:
- Click Create a new menu, give it a name (like "Main Menu"), and click Create Menu.
- On the left, check the pages you want to include (Home, About, Contact, and any others).
- Click Add to Menu. The pages will appear in the menu builder on the right.
- Drag and drop to reorder them.
- Under Menu Settings, check the box for Primary Menu (or whatever your theme calls its main navigation location).
- Click Save Menu.
Visit your site's homepage and you should see your new navigation menu in place.
What to Do Next
You now have a working WordPress website with a theme, essential plugins, key pages, and a navigation menu. That's a real foundation.
Here's where to go from here, depending on what matters most to you:
- Get found on Google — Read my WordPress SEO guide to understand how to optimize your content for search engines. This is one of the highest-leverage things you can focus on early.
- Make your site faster — Page speed affects both user experience and rankings. My WordPress speed guide covers caching, images, and the biggest performance wins.
- Keep it secure — WordPress powers 43% of the web, which makes it a target. My WordPress security guide covers the essentials without overwhelming you.
- Explore more plugins — There are plugins for everything. My WordPress plugins guide breaks down the best options by category.
- Troubleshoot issues — If something goes wrong (and eventually something will), my guide to common WordPress errors will help you diagnose and fix it fast.
- Customize your design — If you want to go deeper on themes and page builders, my WordPress themes guide covers what's available and what's worth using.
- Speed it up with AI — If you want to see how AI tools can shortcut much of this manual work, read my guide to building a WordPress website with AI for the 2026 workflow.
For the full structured learning path — a step-by-step sequence that covers everything in order — visit my Start Here page. You can also explore our step-by-step tutorials for more hands-on walkthroughs. It maps out the journey from complete beginner to a confident WordPress site owner.
Frequently Asked Questions
How much does it cost to make a WordPress website?
The WordPress software is free. Your main costs are hosting (roughly $3–10/month) and a domain name (around $10/year). Many hosts include a free domain for the first year. So your first year total is typically $40–130, depending on the host. After that it's mainly the hosting renewal. You can run a real website on surprisingly little if you're careful with which plugins and themes you pick (plenty of excellent free options exist).
How long does it take to build a WordPress website?
You can have a basic WordPress site live in under an hour — I've walked you through exactly that in this guide. A more polished site with custom design, complete content, and everything configured might take a weekend. The timeline depends mostly on how long it takes you to write your content, which is true of any platform.
Do I need to know how to code?
No. WordPress is designed to be used without coding. Everything in this guide — hosting, installation, themes, plugins, content creation — requires zero code. If you want to make small visual tweaks that go beyond what your theme's settings allow, a basic understanding of CSS is useful, but it's not required to run a successful website.
Will my WordPress site work on mobile?
Yes. Any modern WordPress theme is responsive by default, meaning it automatically adjusts to look good on phones, tablets, and desktops. Both Astra and GeneratePress (recommended above) are fully responsive. You can preview how your site looks on different screen sizes using the Customizer in your dashboard.
Can I sell products on my WordPress website?
Yes. The WooCommerce plugin (free) turns any WordPress site into a full e-commerce store. It supports physical products, digital downloads, subscriptions, and more. Setting up an online store properly takes more than an hour, but it starts with exactly the same WordPress foundation you've set up here.
Can I make money with a WordPress website?
Yes, and WordPress imposes no restrictions on how. Common approaches include: display ads (Google AdSense, Mediavine), affiliate marketing (recommending products and earning commissions), selling your own products or services, paid memberships or courses, and sponsored content. Many people run full-time income-generating sites on WordPress.
What's the difference between WordPress.com and WordPress.org?
WordPress.org is the free, self-hosted software this guide is based on. WordPress.com is a commercial hosting service that uses the WordPress software but limits what you can do (especially on free and lower-tier plans). For almost everyone building a real website, WordPress.org is the right choice. I cover this in full in WordPress.com vs WordPress.org.
Is WordPress secure?
WordPress itself is secure when properly maintained. Most security issues come from outdated plugins, weak passwords, or using nulled (pirated) themes and plugins. The basics — keeping everything updated, using strong passwords, and installing a security plugin like Wordfence — protect most sites from most attacks. I cover the full picture in my WordPress security guide.

Written by ZTW Team
Our team tests and reviews WordPress products to help beginners make confident choices.
Learn more about our team →You might also like
How to Install WordPress — The Complete Step-by-Step Guide
I've installed WordPress hundreds of times over the past 20 years. Here's exactly how to do it — from one-click installers to manual setup, with troubleshooting tips for when things go wrong.
postHow to Choose a Domain Name for Your WordPress Site
Picking a domain name is one of the first decisions you'll make. I share practical tips for choosing the perfect domain, where to register it, and common mistakes to avoid.
postWhat Is WordPress? A Beginner-Friendly Explanation
WordPress is the world's most popular website builder, powering over 40% of all websites. In this guide, I'll explain exactly what WordPress is, how it works, and why it's the best choice for beginners.
postWordPress.com vs WordPress.org — What's the Difference?
Confused by WordPress.com and WordPress.org? I break down the key differences, pros and cons, pricing, and which one is right for you as a beginner.