How to Create an Online Store with WordPress & WooCommerce (Step by Step)
If you want to sell products online, you need an online store — and in my honest opinion, there's no better combination than WordPress and WooCommerce. I've been building WordPress sites for over 20 years, and I've set up more WooCommerce stores than I can count. From a friend's handmade candle shop to a client doing six figures in monthly revenue selling industrial equipment, WooCommerce handles it all. And the best part? The core plugin is completely free.
In this tutorial, I'm going to walk you through the entire process of creating a fully functional online store — step by step, click by click. By the end, you'll have a store that can accept payments, ship products, and handle taxes. No coding required, no vague instructions. Just follow along and you'll be ready to sell within a few hours.
Why WordPress + WooCommerce Is the Best Choice for Your Store
Before we dive into the setup, let me explain why I always recommend WooCommerce over platforms like Shopify, Squarespace, or BigCommerce. It comes down to three things: cost, flexibility, and ownership. WooCommerce is open-source and free — you only pay for hosting, a domain, and whatever premium extensions you might want. Shopify charges $39/month minimum, and that adds up fast. Over three years, you're looking at $1,400+ just for the privilege of using their platform, compared to roughly $300-500 total for a self-hosted WooCommerce store with decent hosting.
Then there's flexibility. WooCommerce powers over 25% of all online stores worldwide, which means there's an extension or integration for virtually anything you need. Subscriptions, bookings, memberships, digital downloads, physical products with complex variations — WooCommerce handles all of it. And because you own the software and the data, you're never locked into a platform that can raise prices or shut you down. I've seen Shopify merchants panic when their accounts got flagged for selling perfectly legal products. With WooCommerce on your own hosting, you're in complete control.

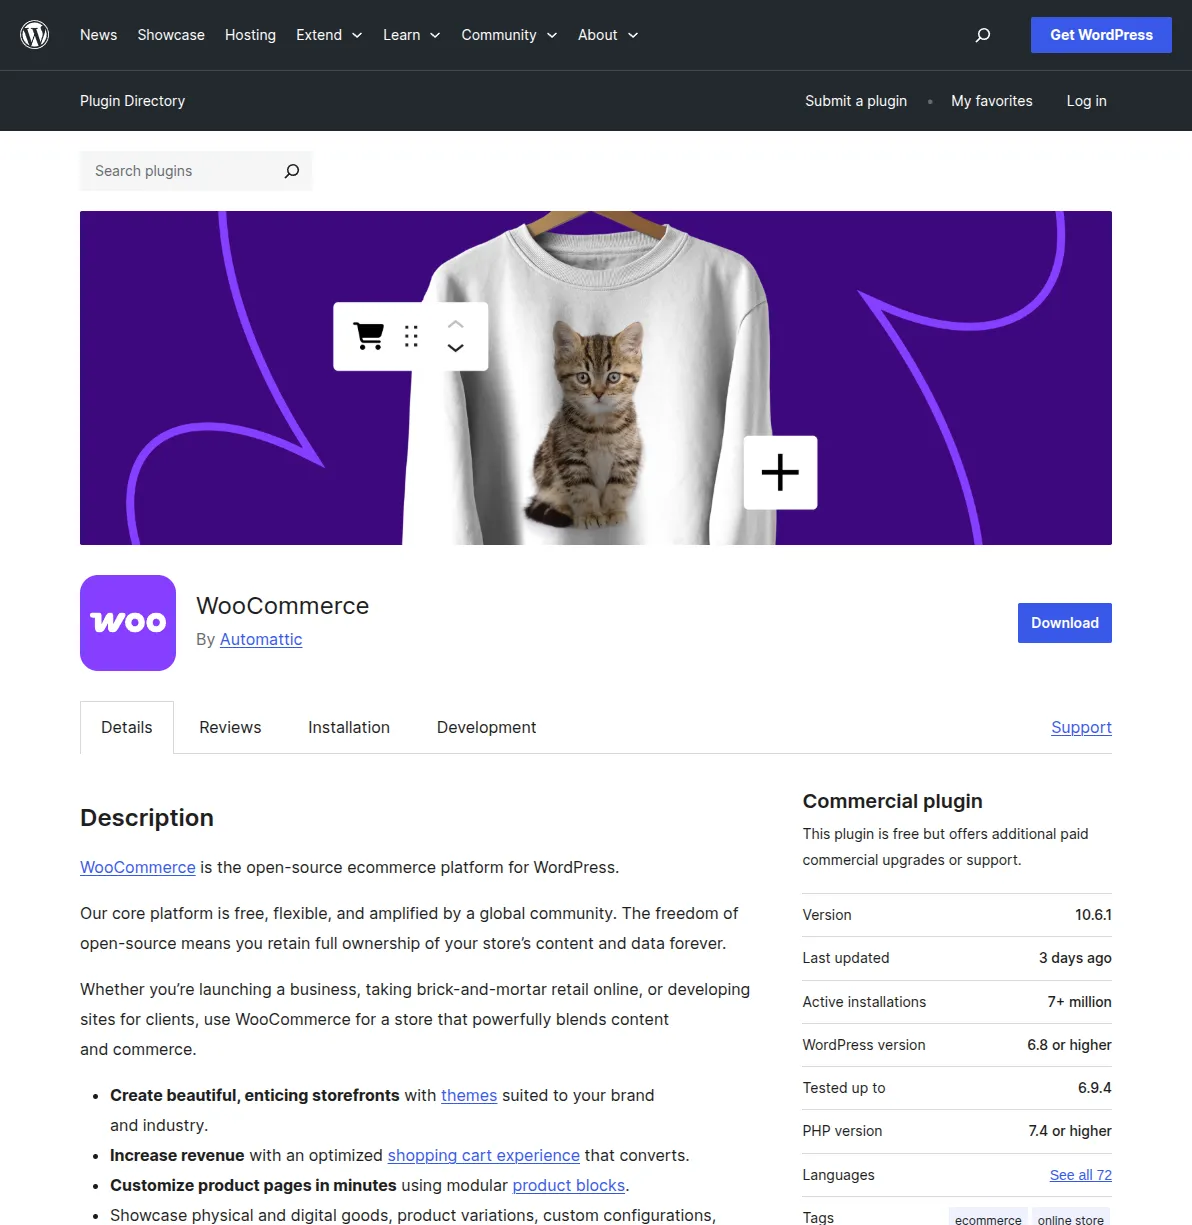
That's the WooCommerce homepage — and those numbers aren't marketing fluff. With over 4 million active stores and 7+ million installations of the plugin, WooCommerce is the most popular ecommerce solution on the planet. And it's backed by Automattic, the company behind WordPress.com and Jetpack, so it's not going anywhere.
What You Need Before Starting
Before we install WooCommerce, you need three things in place. First, you need WordPress hosting. Not all hosting is equal — for an online store, you want a provider that offers strong uptime, fast page loads, and free SSL certificates. I've written a detailed comparison in my guide to choosing WordPress hosting, but in short: for a new store, I recommend Hostinger or SiteGround. Both offer one-click WordPress installation, free SSL, and solid performance starting around $3-5/month. If you're expecting serious traffic from day one, consider a managed WordPress host like Cloudways or Kinsta.
Second, you need a domain name. This is your store's web address (like mystore.com). Most hosting providers include a free domain for the first year, but you can also register one separately through Namecheap or Google Domains for about $10-15/year. Keep it short, memorable, and avoid hyphens. Third, you need an SSL certificate — but don't worry, most hosts include this free. SSL encrypts the connection between your store and your customers, and it's absolutely non-negotiable for any site that handles payments. If your URL starts with "https://" and shows a padlock icon, you're good to go.
Pro tip: If you already have a WordPress site running, you can skip straight to Step 1 below. WooCommerce installs on any existing WordPress site — you don't need a separate installation. I've added WooCommerce to blogs, portfolio sites, and even membership sites without any conflicts. If you're specifically interested in selling memberships or restricting content to paying subscribers, check out my best membership plugins guide — those tools integrate with WooCommerce but are purpose-built for recurring subscriptions and content gating.
Step-by-Step: Setting Up Your WooCommerce Store
Step 1: Install the WooCommerce Plugin
Log into your WordPress dashboard. In the left sidebar, go to Plugins → Add New. In the search box at the top right, type "WooCommerce." The first result should be the WooCommerce plugin by Automattic — it's got 7+ million active installations and a 4.5-star rating. Click Install Now, wait about 10-15 seconds for it to download, and then click Activate.
That's really all there is to it. The moment you activate WooCommerce, you'll notice your WordPress dashboard transforms — new menu items appear in the sidebar for Products, Analytics, Marketing, and WooCommerce settings. Don't feel overwhelmed by all the new options. We're going to walk through each one methodically. I remember the first time I installed WooCommerce back in 2015, and I was intimidated by the sheer number of settings. But honestly, most stores only need to configure about 20% of what's available. The rest is there for advanced use cases you might grow into later.
Important: Make sure you're installing the official "WooCommerce" plugin by Automattic, not one of the many copycat plugins with similar names. The official plugin has the purple "woo" logo and millions of installations. If in doubt, go directly to wordpress.org/plugins/woocommerce.
Step 2: Run the WooCommerce Setup Wizard
After activating WooCommerce, you'll be automatically redirected to the setup wizard. If you accidentally close it, you can always find it again by going to WooCommerce → Home in your dashboard sidebar. The wizard walks you through the basics in about 5 minutes, and I recommend completing it because it saves you from manually configuring a dozen settings screens.
The wizard asks you to fill in your store details first: your store's address, which country you're selling from, and what currency you'll use. Be accurate here — your tax calculations and shipping zones depend on this information. Next, it asks about your industry (fashion, electronics, food, etc.) and the types of products you plan to sell — physical products, digital downloads, or both. These selections don't lock you in; they just help WooCommerce suggest relevant features. Finally, the wizard offers to install some optional free extensions like WooCommerce Payments, Jetpack, and MailPoet. I recommend skipping these for now — you can always add them later, and it's better to start lean and add complexity only when you need it.
Pro tip: When the wizard asks about "business features," uncheck everything except what you actually need right now. Every extra plugin adds weight to your site. I've seen brand-new stores install 15 plugins before adding a single product, and then wonder why their site loads in 8 seconds. Start minimal. You can always add features later.
Step 3: Add Your First Product
Now for the fun part. Go to Products → Add New in your dashboard sidebar. You'll see a familiar WordPress editor (the block editor or classic editor, depending on your setup) with some extra WooCommerce fields below it. Here's what to fill in:
- Product name — The title that customers see. Be descriptive but concise: "Organic Cotton T-Shirt - Navy Blue" is better than just "T-Shirt."
- Product description — The main content area. Write a detailed description of your product, including materials, dimensions, care instructions, and anything else that helps a customer make a buying decision. I've seen conversion rates double when store owners switch from one-paragraph descriptions to detailed, benefit-focused copy with bullet points.
- Short description — A brief summary that appears next to the product image on the product page. Keep it to 2-3 sentences highlighting the key selling points.
- Product data — This is where you set the price, manage inventory, and configure shipping. The dropdown at the top lets you choose the product type.
WooCommerce supports several product types, but the two you'll use most often are Simple products and Variable products. A simple product is a single item with one price — like a book or a mug. A variable product has options that customers choose from — like a t-shirt that comes in different sizes and colors, each potentially with a different price or stock level. For your first product, I'd start with a simple product to get comfortable with the interface, then move to variable products once you understand how attributes and variations work.
Under the Product data section, set your Regular price (and optionally a Sale price if you want to show a discount). Switch to the Inventory tab to enable stock management and enter your quantity. The Shipping tab lets you enter the product's weight and dimensions — important for accurate shipping calculations later. Don't forget to add a Product image (the main photo) using the panel on the right sidebar, and optionally a Product gallery for additional photos. I always recommend at least 3-4 images per product: front view, back view, detail shot, and a lifestyle/context image showing the product in use.
When everything looks good, click Publish in the top right. Congratulations — your store now has its first product. Repeat this process for each product you want to sell.
Step 4: Set Up Payment Methods
No store works without a way to accept payments. Go to WooCommerce → Settings → Payments. You'll see a list of available payment methods. Out of the box, WooCommerce includes direct bank transfer, check payments, and cash on delivery — but for a real online store, you need a credit card processor. The two I recommend for most stores are Stripe and PayPal.
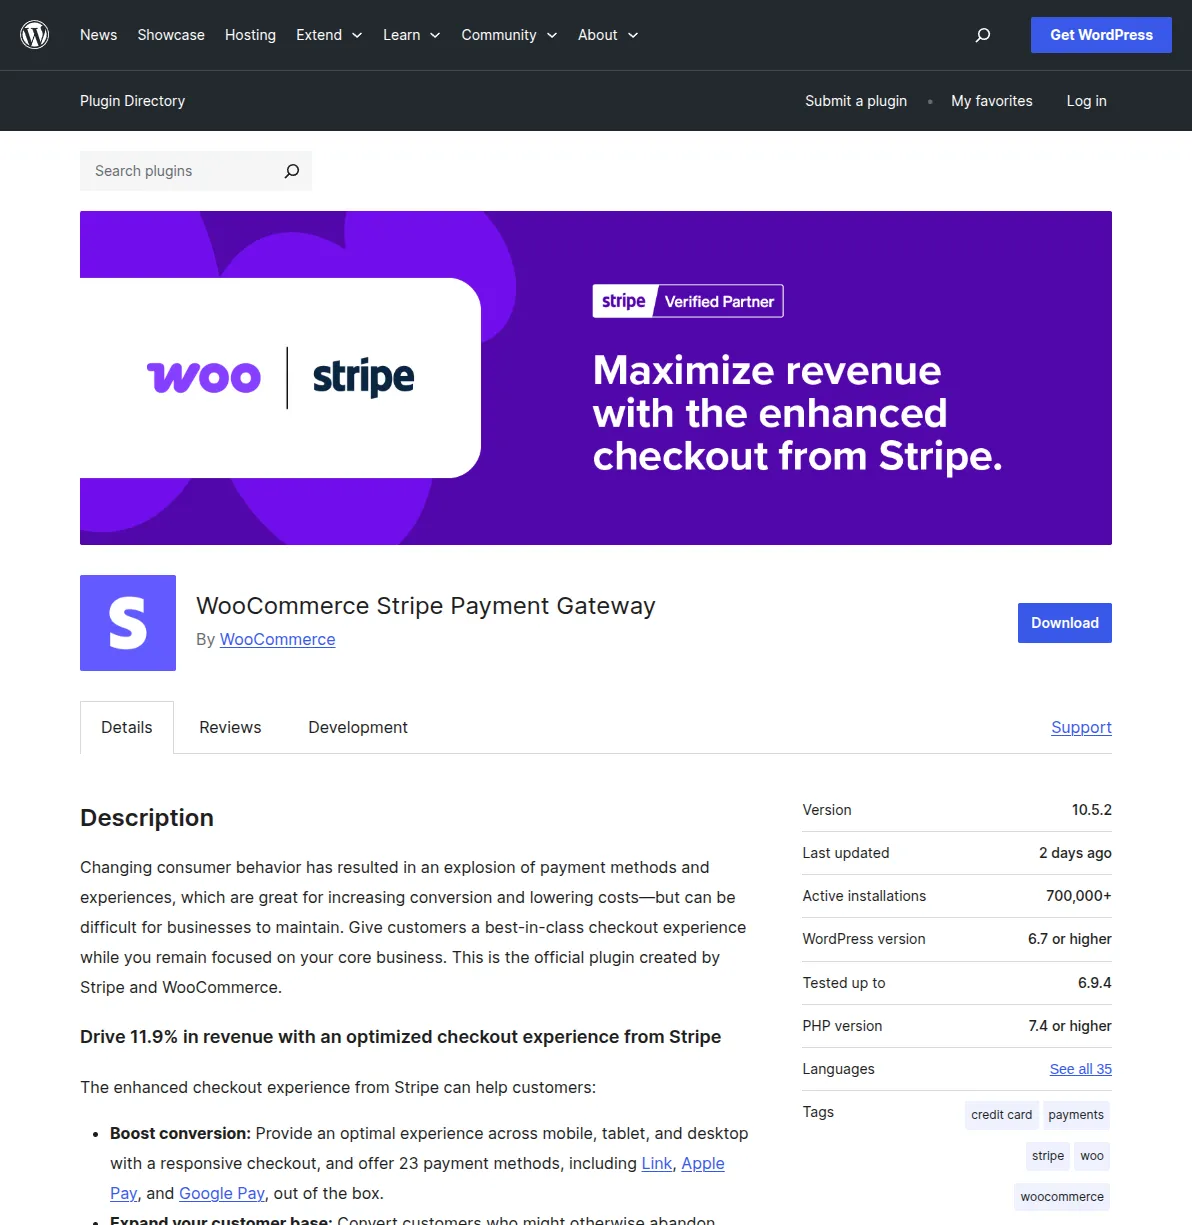
Stripe is my personal favorite for accepting credit cards. It supports Visa, Mastercard, American Express, Apple Pay, Google Pay, and a bunch of local payment methods depending on your country. The fees are straightforward: 2.9% + $0.30 per transaction in the US (similar rates in other countries). To set up Stripe, install the "WooCommerce Stripe Payment Gateway" plugin from Plugins → Add New, activate it, and then go to WooCommerce → Settings → Payments → Stripe to connect your Stripe account. If you don't have a Stripe account yet, you can create one for free at stripe.com in about 10 minutes.
PayPal is worth adding as a second payment option because many customers prefer it — they don't have to enter their credit card details on your site, which builds trust especially for new stores. WooCommerce has a built-in PayPal integration, or you can use the "WooCommerce PayPal Payments" plugin for the latest features. Set it up the same way: install the plugin, activate it, and connect your PayPal business account under WooCommerce → Settings → Payments.
Pro tip: Always offer at least two payment methods. I've tested this across multiple stores, and adding PayPal alongside Stripe consistently increases conversion by 10-15%. Some customers simply won't buy if their preferred payment method isn't available. Also, Stripe's "test mode" lets you process fake transactions to make sure everything works before going live — use it. I've caught configuration errors with test orders that would have cost me real sales.
Step 5: Configure Shipping
If you're selling physical products, shipping configuration is essential. Go to WooCommerce → Settings → Shipping. WooCommerce uses a concept called shipping zones — geographic regions that you define, each with its own shipping methods and rates. For example, you might have a "Domestic" zone for your country with flat-rate shipping, and an "International" zone for everything else with higher rates.
Click Add shipping zone to create your first zone. Give it a name (like "United States" or "Domestic"), then add the regions it covers — you can select entire countries, specific states, or even individual postcodes. Next, click Add shipping method within that zone. WooCommerce offers three built-in options:
- Flat rate — A fixed shipping cost you define (e.g., $5.99 per order). This is the simplest option and works great for most small stores. You can even set it up to charge per item or per order.
- Free shipping — No shipping cost for the customer. You can require a minimum order amount to qualify (e.g., "Free shipping on orders over $50"). This is a powerful conversion tactic — I've seen stores increase average order value by 20-30% just by adding a free shipping threshold.
- Local pickup — The customer picks up the order in person. Great if you have a physical location.
For more advanced shipping with real-time carrier rates from UPS, FedEx, or USPS, you'll need an additional plugin. WooCommerce Shipping (by Automattic) handles USPS rates and even lets you print shipping labels directly from your dashboard. For international stores, Table Rate Shipping gives you granular control over rates based on weight, destination, item count, and price.
Warning: Don't overcomplicate your shipping setup on day one. I've watched store owners spend days configuring elaborate shipping rules before they've made a single sale. Start with a simple flat rate, launch your store, and refine your shipping strategy based on actual orders. You can always change it later.
Step 6: Configure Taxes
Taxes are the part of store setup that nobody enjoys, but you can't skip it. Go to WooCommerce → Settings → General and make sure "Enable tax rates and calculations" is checked. Then go to the Tax tab that appears in your settings.
WooCommerce gives you two approaches to taxes. The manual approach lets you define tax rates by country, state, and even city under WooCommerce → Settings → Tax → Standard rates. Click "Insert row" and enter the country code, state code, rate percentage, and a name for the tax (like "Sales Tax" or "VAT"). This works fine if you only sell to one or two regions with simple tax rules.
The automated approach is what I recommend for most stores. Install the free "WooCommerce Tax" plugin (powered by Jetpack), which automatically calculates the correct tax rate based on your customer's location. It supports sales tax in the US, VAT in Europe, GST in Australia, and tax rules in many other countries. This saves you from manually maintaining tax tables and worrying about rate changes. To set it up, go to Plugins → Add New, search for "WooCommerce Tax," install and activate it, and it integrates directly with your WooCommerce tax settings.
Important: I am not a tax advisor, and tax laws vary significantly by location. If you're unsure about your tax obligations, consult with an accountant familiar with ecommerce in your jurisdiction. Getting taxes wrong can lead to serious problems down the road. What I can tell you from experience is that the automated tax calculation plugins are remarkably accurate and save hours of manual configuration.
Step 7: Choose a WooCommerce-Compatible Theme
Your store's appearance matters — a lot. Studies consistently show that customers judge a store's credibility based on its design within the first few seconds. The good news is that most modern WordPress themes work with WooCommerce, but some are specifically built for ecommerce and include features like product quick-views, Ajax-powered cart updates, and optimized product grid layouts.
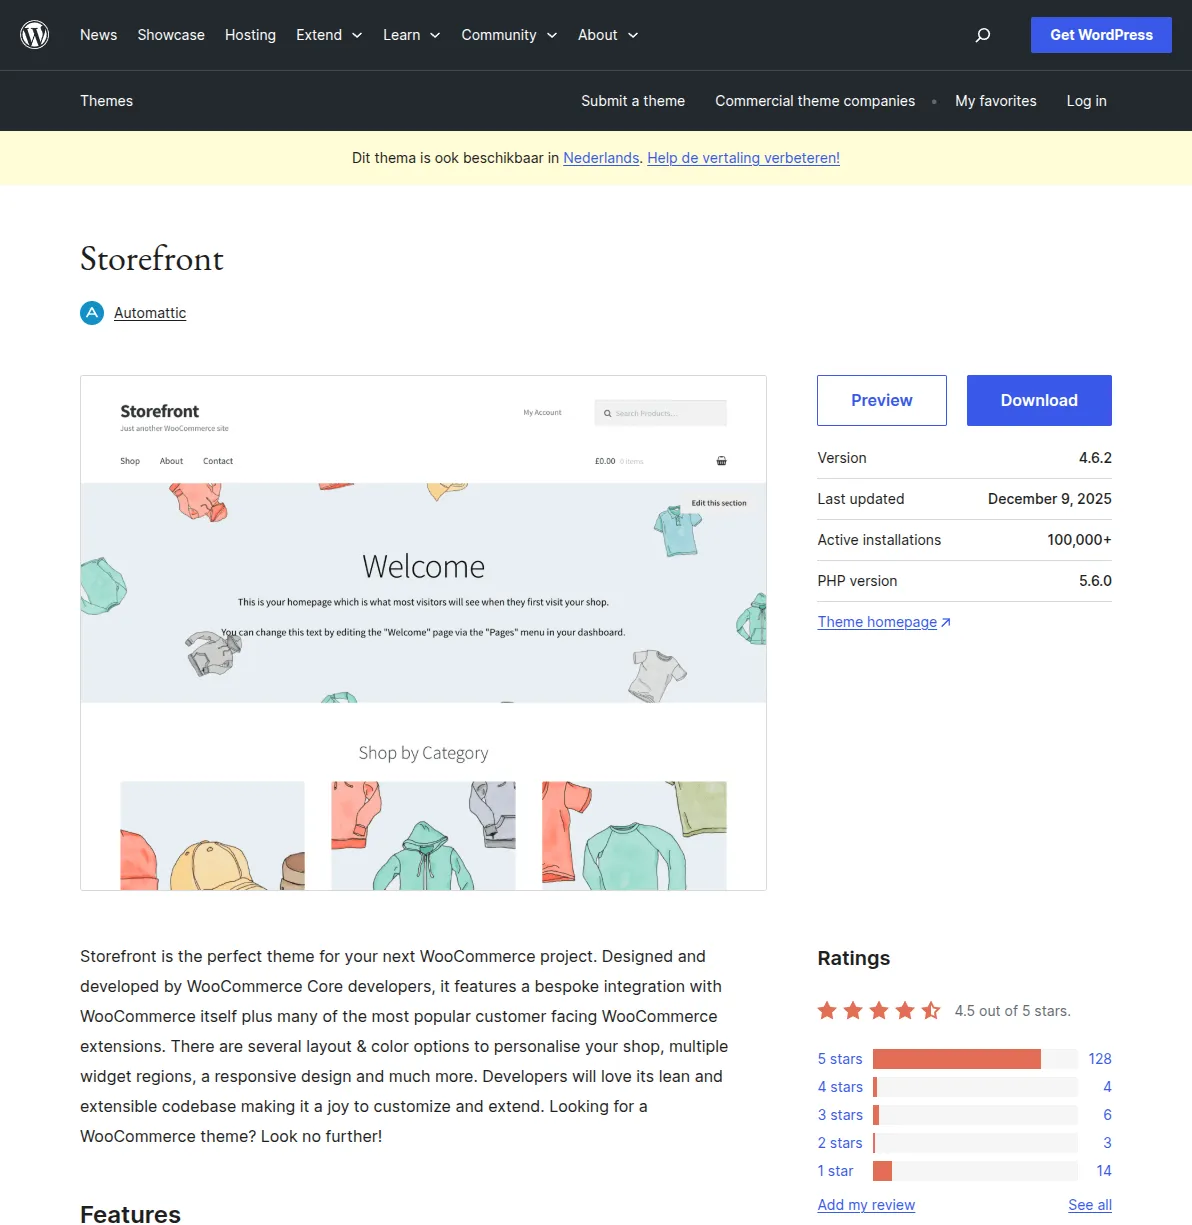
The Storefront theme is the official WooCommerce theme, built by the same team that develops WooCommerce. It's free, lightweight, fast, and designed to integrate perfectly with all WooCommerce features. If you're just starting out and don't want to spend time choosing a theme, Storefront is a solid choice — it won't win any design awards, but it's clean, professional, and works flawlessly with every WooCommerce extension. For more premium options, I've compiled a comprehensive list in my guide to the best WordPress themes.
Other themes I recommend for WooCommerce stores include Astra (incredibly fast and customizable, with a free version and premium WooCommerce add-ons), Kadence (modern design with excellent WooCommerce integration), and GeneratePress (lightweight and developer-friendly). For a broader overview of what's available, browse our WordPress themes hub. To change your theme, go to Appearance → Themes → Add New, search for the theme you want, click Install, and then Activate. After activating, visit your store's frontend to make sure everything looks right with your products and shop pages.
Pro tip: After switching themes, always check your shop page, a single product page, the cart, and the checkout page on both desktop and mobile. Theme switches can occasionally break layouts on specific pages, and you want to catch that before a customer does. I once switched a client's theme without checking mobile checkout and lost three days of mobile sales because the "Place Order" button was hidden behind the footer.
Step 8: Install Essential WooCommerce Plugins
WooCommerce's core plugin handles the fundamentals, but there are a handful of additional plugins I install on every single store I build. These aren't optional nice-to-haves — they're tools that directly impact your store's security, performance, and revenue. Here are my top five:
| Plugin | Purpose | Price | Why I Recommend It |
|---|---|---|---|
| Rank Math SEO | Search engine optimization | Free / $59/yr | Adds WooCommerce-specific SEO features like product schema markup, which gets your products those rich snippets with stars, price, and availability in Google results. The free version is powerful enough for most stores. |
| UpdraftPlus | Automated backups | Free / $70/yr | Backs up your entire store — products, orders, customer data, everything — to cloud storage. I've restored stores from UpdraftPlus backups more times than I'd like to admit. Don't run a store without backups. |
| WP Super Cache or LiteSpeed Cache | Speed optimization | Free | Caching dramatically speeds up your store. A slow store kills conversions — Amazon found that every 100ms of latency cost them 1% in sales. If your host uses LiteSpeed, use LiteSpeed Cache. Otherwise, WP Super Cache is solid and simple. |
| Wordfence Security | Security & firewall | Free / $119/yr | Protects your store from brute-force attacks, malware, and unauthorized access. When you're handling customer payment data, security isn't optional. The free version includes a firewall, malware scanner, and login security. |
| ShortPixel Image Optimizer | Image compression | Free (100 images/mo) | Product images are often the heaviest elements on your pages. ShortPixel compresses them without visible quality loss, making your store noticeably faster. A faster store means better conversions and better Google rankings. |
To install any of these, go to Plugins → Add New, search for the plugin name, click Install Now, and then Activate. I'd also recommend reading my guide to must-have plugins for new WordPress sites for a more comprehensive list that covers security, performance, and SEO in detail.
Beyond these essentials, consider adding plugins specific to your store's needs: WooCommerce Subscriptions if you're selling subscription products, YITH WooCommerce Wishlist to let customers save products for later (which drives return visits and conversions), and CartFlows if you want to create optimized sales funnels. But remember the rule I mentioned earlier — start lean. Every plugin you add is another thing to maintain, update, and potentially troubleshoot.
Pre-Launch Checklist: Make Sure Everything Works
Before you announce your store to the world, run through this checklist. I use this exact list for every store I build, and it's saved me from embarrassing mistakes more times than I can count:
- Place a test order — Use Stripe's test mode (or PayPal sandbox) to complete a full purchase. Go through every step: add a product to cart, enter shipping details, complete payment. Check that you receive the order confirmation email and that the order shows up in WooCommerce → Orders.
- Test on mobile — Pull out your phone and browse your store. Try adding products, viewing the cart, and going through checkout. Over 60% of ecommerce traffic now comes from mobile devices. If your checkout is clunky on a phone, you're losing sales.
- Verify SSL — Make sure every page of your store loads with "https://" and shows the padlock icon. Click through your shop, product pages, cart, checkout, and account pages. If any page loads without SSL, fix it immediately — browsers will warn customers that your site isn't secure.
- Check email notifications — WooCommerce sends automated emails for order confirmations, shipping updates, and more. Go to WooCommerce → Settings → Emails and make sure they're configured with your store name and look professional. Send a test email from each template.
- Review your legal pages — You need at minimum a Privacy Policy, Terms and Conditions, and a Refund/Returns Policy. WooCommerce can link these in your checkout footer. Don't skip this — it builds trust and keeps you legally protected.
- Test all payment methods — If you've enabled Stripe and PayPal, test both. I've seen stores where Stripe worked perfectly but PayPal was misconfigured, and they didn't find out until a customer complained.
Pro tip: After going live, place one real order yourself using a real credit card. Immediately refund it afterward. This confirms that the entire payment flow — charge, confirmation, refund — works with live credentials. I've caught API key mismatches this way that test mode didn't reveal. Five minutes of testing can save you days of lost revenue.
What to Do After Launching Your Store
Getting your store live is just the beginning. Here's what I focus on in the first 30 days after launch:
Set up Google Analytics — Install Google Analytics on your WordPress site so you can track where your visitors come from, which products they view, and where they drop off in the purchase funnel. WooCommerce integrates with Google Analytics through the free "WooCommerce Google Analytics" extension, which adds enhanced ecommerce tracking automatically.
Optimize for SEO — Make sure every product has a unique, descriptive title and meta description. Use your SEO plugin to add product schema markup, which helps your products appear in Google Shopping results and rich snippets. Write unique product descriptions — don't just copy-paste the manufacturer's text that every other store uses. I've seen products jump from page 3 to page 1 in Google just by rewriting the description with original, detailed content.
Set up abandoned cart recovery — Roughly 70% of online shopping carts are abandoned before checkout. Plugins like "WooCommerce Cart Abandonment Recovery" (free) automatically send emails to customers who added products to their cart but didn't complete the purchase. In my experience, these emails recover 5-15% of abandoned carts, which is essentially free revenue.
Speed up your store — Run your store through Google PageSpeed Insights and aim for a score above 80 on mobile. Use a caching plugin, compress your images, and consider a CDN if you're selling internationally. Every second of load time you shave off directly improves your conversion rate.
Frequently Asked Questions
How much does it cost to build a WooCommerce store?
The minimum cost is just your hosting and domain — roughly $50-100/year with a provider like Hostinger or SiteGround. WooCommerce itself is free, and you can build a perfectly functional store with free themes and plugins. Realistically, most serious stores spend $200-500/year when you add a premium theme ($50-60 one-time), a few premium extensions ($50-200/year), and quality hosting ($60-200/year). Compare that to Shopify's $39-105/month ($468-1,260/year) plus their transaction fees, and WooCommerce is significantly cheaper — especially as your business grows. I've written a detailed breakdown in my guide to WordPress website costs.
Can I sell digital products with WooCommerce?
Absolutely. WooCommerce handles digital downloads natively — when creating a product, check the "Virtual" and "Downloadable" boxes in the Product data section. You can upload files directly (PDFs, software, music, videos, etc.) and WooCommerce will automatically deliver the download link to customers after purchase. You can set download limits and expiration dates too. I've used this for everything from ebooks to WordPress theme files to photography presets. For subscription-based digital products, add the WooCommerce Subscriptions extension.
Is WooCommerce good for beginners with no coding experience?
Yes — and I say that as a developer who has taught dozens of non-technical people to build WooCommerce stores. If you can use WordPress (write a blog post, install a plugin, change a setting), you can run a WooCommerce store. The setup wizard guides you through the initial configuration, and the interface for adding products and managing orders is intuitive. Where beginners sometimes struggle is with advanced customizations like custom checkout fields or complex shipping rules, but those are things you can tackle later or hire someone to help with. Start with the basics in this guide, and you'll be surprised how far you can get without writing a single line of code.
How do I handle international shipping and multiple currencies?
WooCommerce supports international shipping through shipping zones — you create separate zones for different countries or regions, each with its own shipping methods and rates. For real-time carrier rates, install a shipping plugin for your preferred carrier (UPS, FedEx, DHL, etc.). For multiple currencies, the "WooCommerce Multicurrency" plugin lets customers browse and pay in their local currency. Stripe also has built-in multi-currency support, automatically converting currencies at checkout. If you're selling primarily in Europe, make sure you understand VAT obligations — the WooCommerce Tax plugin handles EU VAT calculations automatically.
WooCommerce vs Shopify — which one should I choose?
If you want maximum control, lower long-term costs, and unlimited flexibility, choose WooCommerce. If you want a fully managed solution and don't mind paying a monthly fee with less customization freedom, Shopify is fine. Honestly, I'm biased because I've used WooCommerce for over a decade and I've never hit a limitation I couldn't solve with a plugin or a bit of custom code. Shopify is easier to get started with (no hosting to manage), but WooCommerce gives you more power once you're past the initial setup. And since you're reading this on a WordPress tutorial site, you probably already have some WordPress experience — which makes WooCommerce the obvious choice.
Start Selling Today
You now have everything you need to launch a fully functional online store. WordPress and WooCommerce give you a platform that can grow from your first sale to thousands of orders per day — all without switching platforms or rebuilding from scratch. I've watched stores go from zero to profitable businesses using exactly the steps I've outlined above, and there's no reason yours can't be next.
If you're still in the planning phase, start with the fundamentals: pick reliable hosting, install WordPress, and follow the eight steps in this guide. If you get stuck on themes, check out my best WordPress themes roundup. For SEO help to get your products ranking in Google, read my complete WordPress SEO guide. And if you want to understand the full cost picture before committing, my WordPress cost breakdown covers everything from hosting to premium plugins.
The hardest part of building an online store isn't the technology — it's getting started. You've just read the entire playbook. Now go build something worth buying from.

Written by Marvin
Our team tests and reviews WordPress products to help beginners make confident choices.
Learn more about our team →You might also like
WooCommerce AI Automation: How to Run Your Store With AI in 2026
A practical guide to WooCommerce AI automation in 2026: the real tools, the working AI agent setups, and the parts of your store you should never hand over to a bot.
postWordPress 7.0: Everything You Need to Know About the 2026 Release
WordPress 7.0 is the biggest release in years — real-time collaboration, the Abilities API for AI, and expanded Block Bindings. Here is the confirmed timeline, the feature list, and exactly how to prepare your site.
postBest AI Plugins for WordPress in 2026 (Tested and Reviewed)
I spent three months testing AI plugins on my own WordPress sites. Here are the 9 that are actually worth installing in 2026 — honest pricing, real install counts, and where each one fits.
postHow to Connect AI Agents to WordPress: Complete MCP Setup Guide (2026)
A practical walkthrough of connecting Claude Desktop (or any MCP client) to WordPress using the official WordPress MCP Adapter, with real config, auth, and security notes.